Category Archives: Bookbinding

New notepads

Posted on in All, Bookbinding, Graphic Design, Packaging Design, Stationery, Typography.

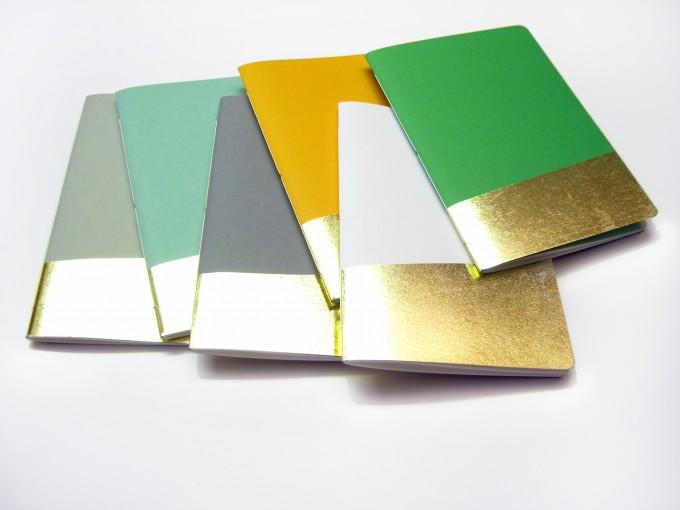
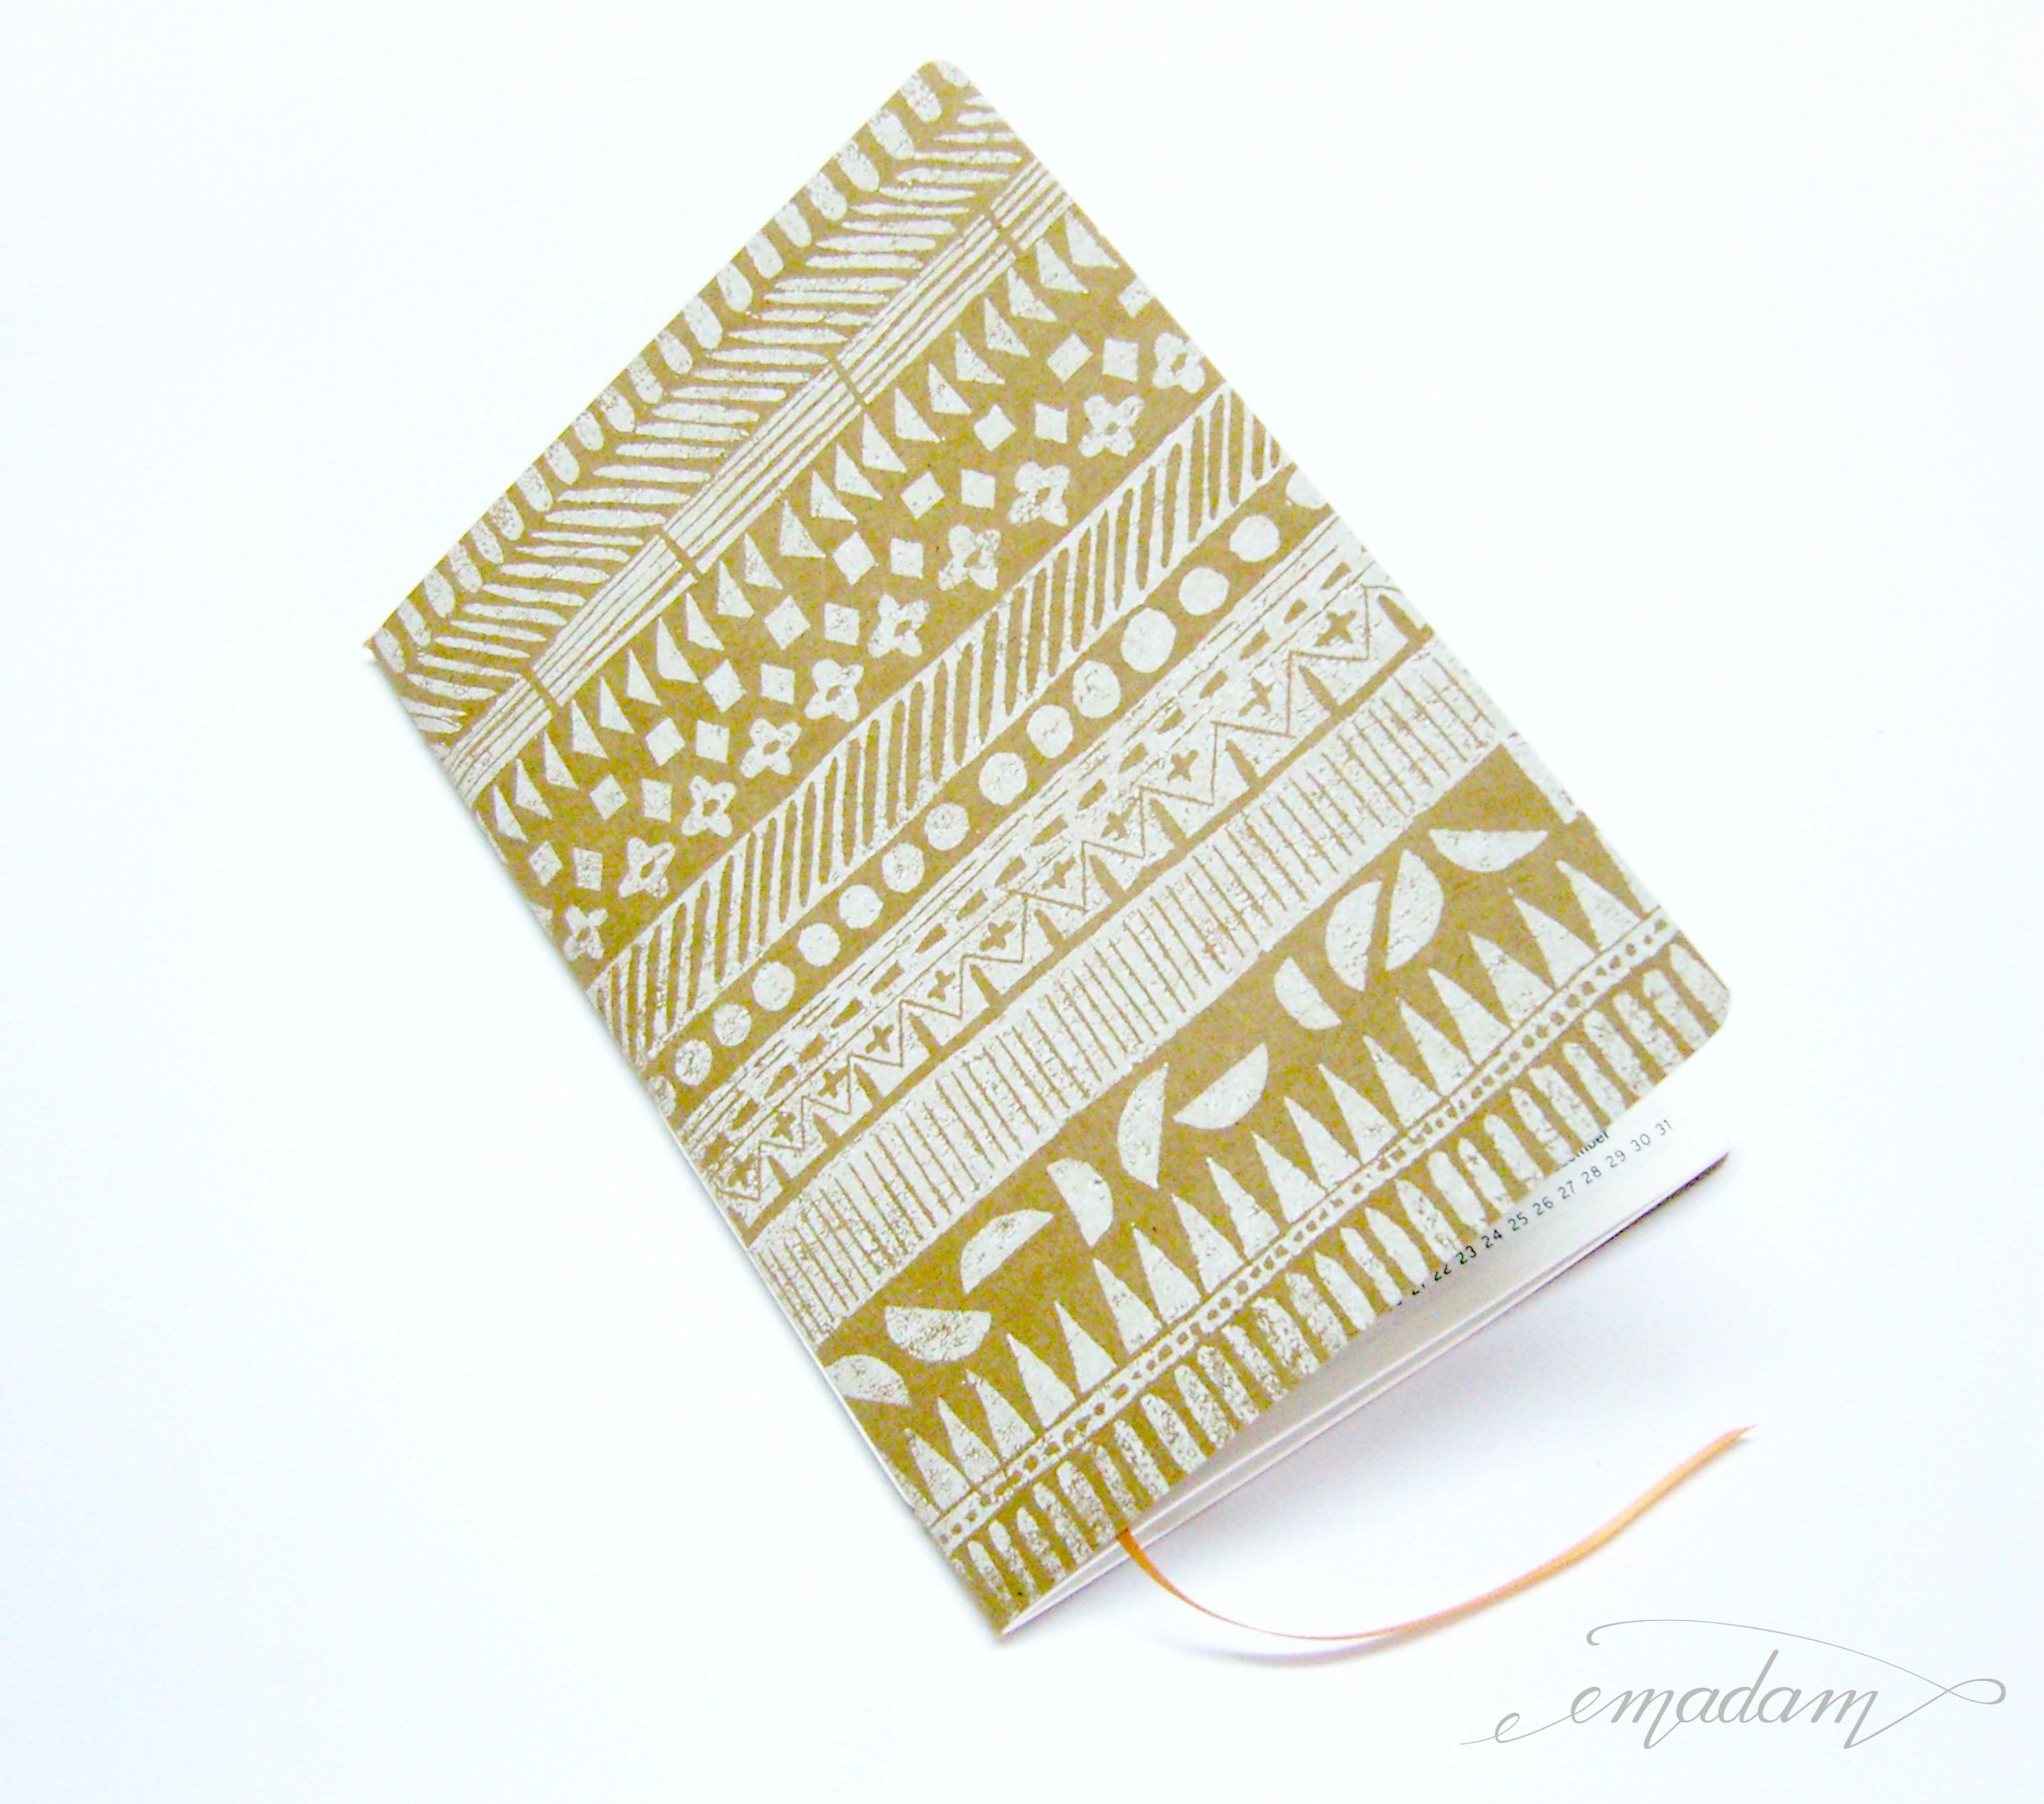
The last days I designed some new notepads. Some of the designs will look familiar because they are already available as a stamp, like the small perpetual circle. Others are brand new. Besides the standard DIN format there are a lot notepads of unusual formats available – just because I love stuff that is unusual. Not everything has to be a DIN standard, right?

Now nothing stands in the way of stylish notes. Enjoy a lot of variety in your planner, journal, diary and scrapbook.

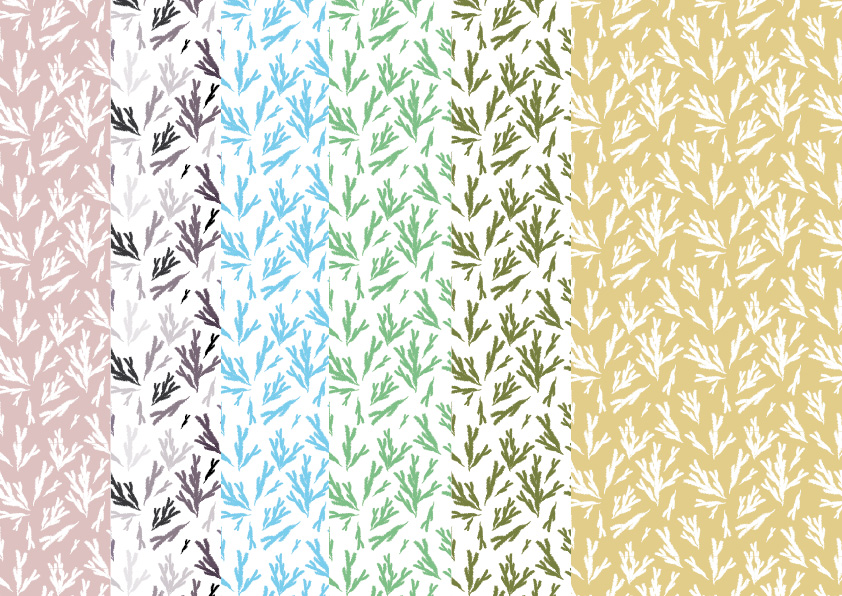
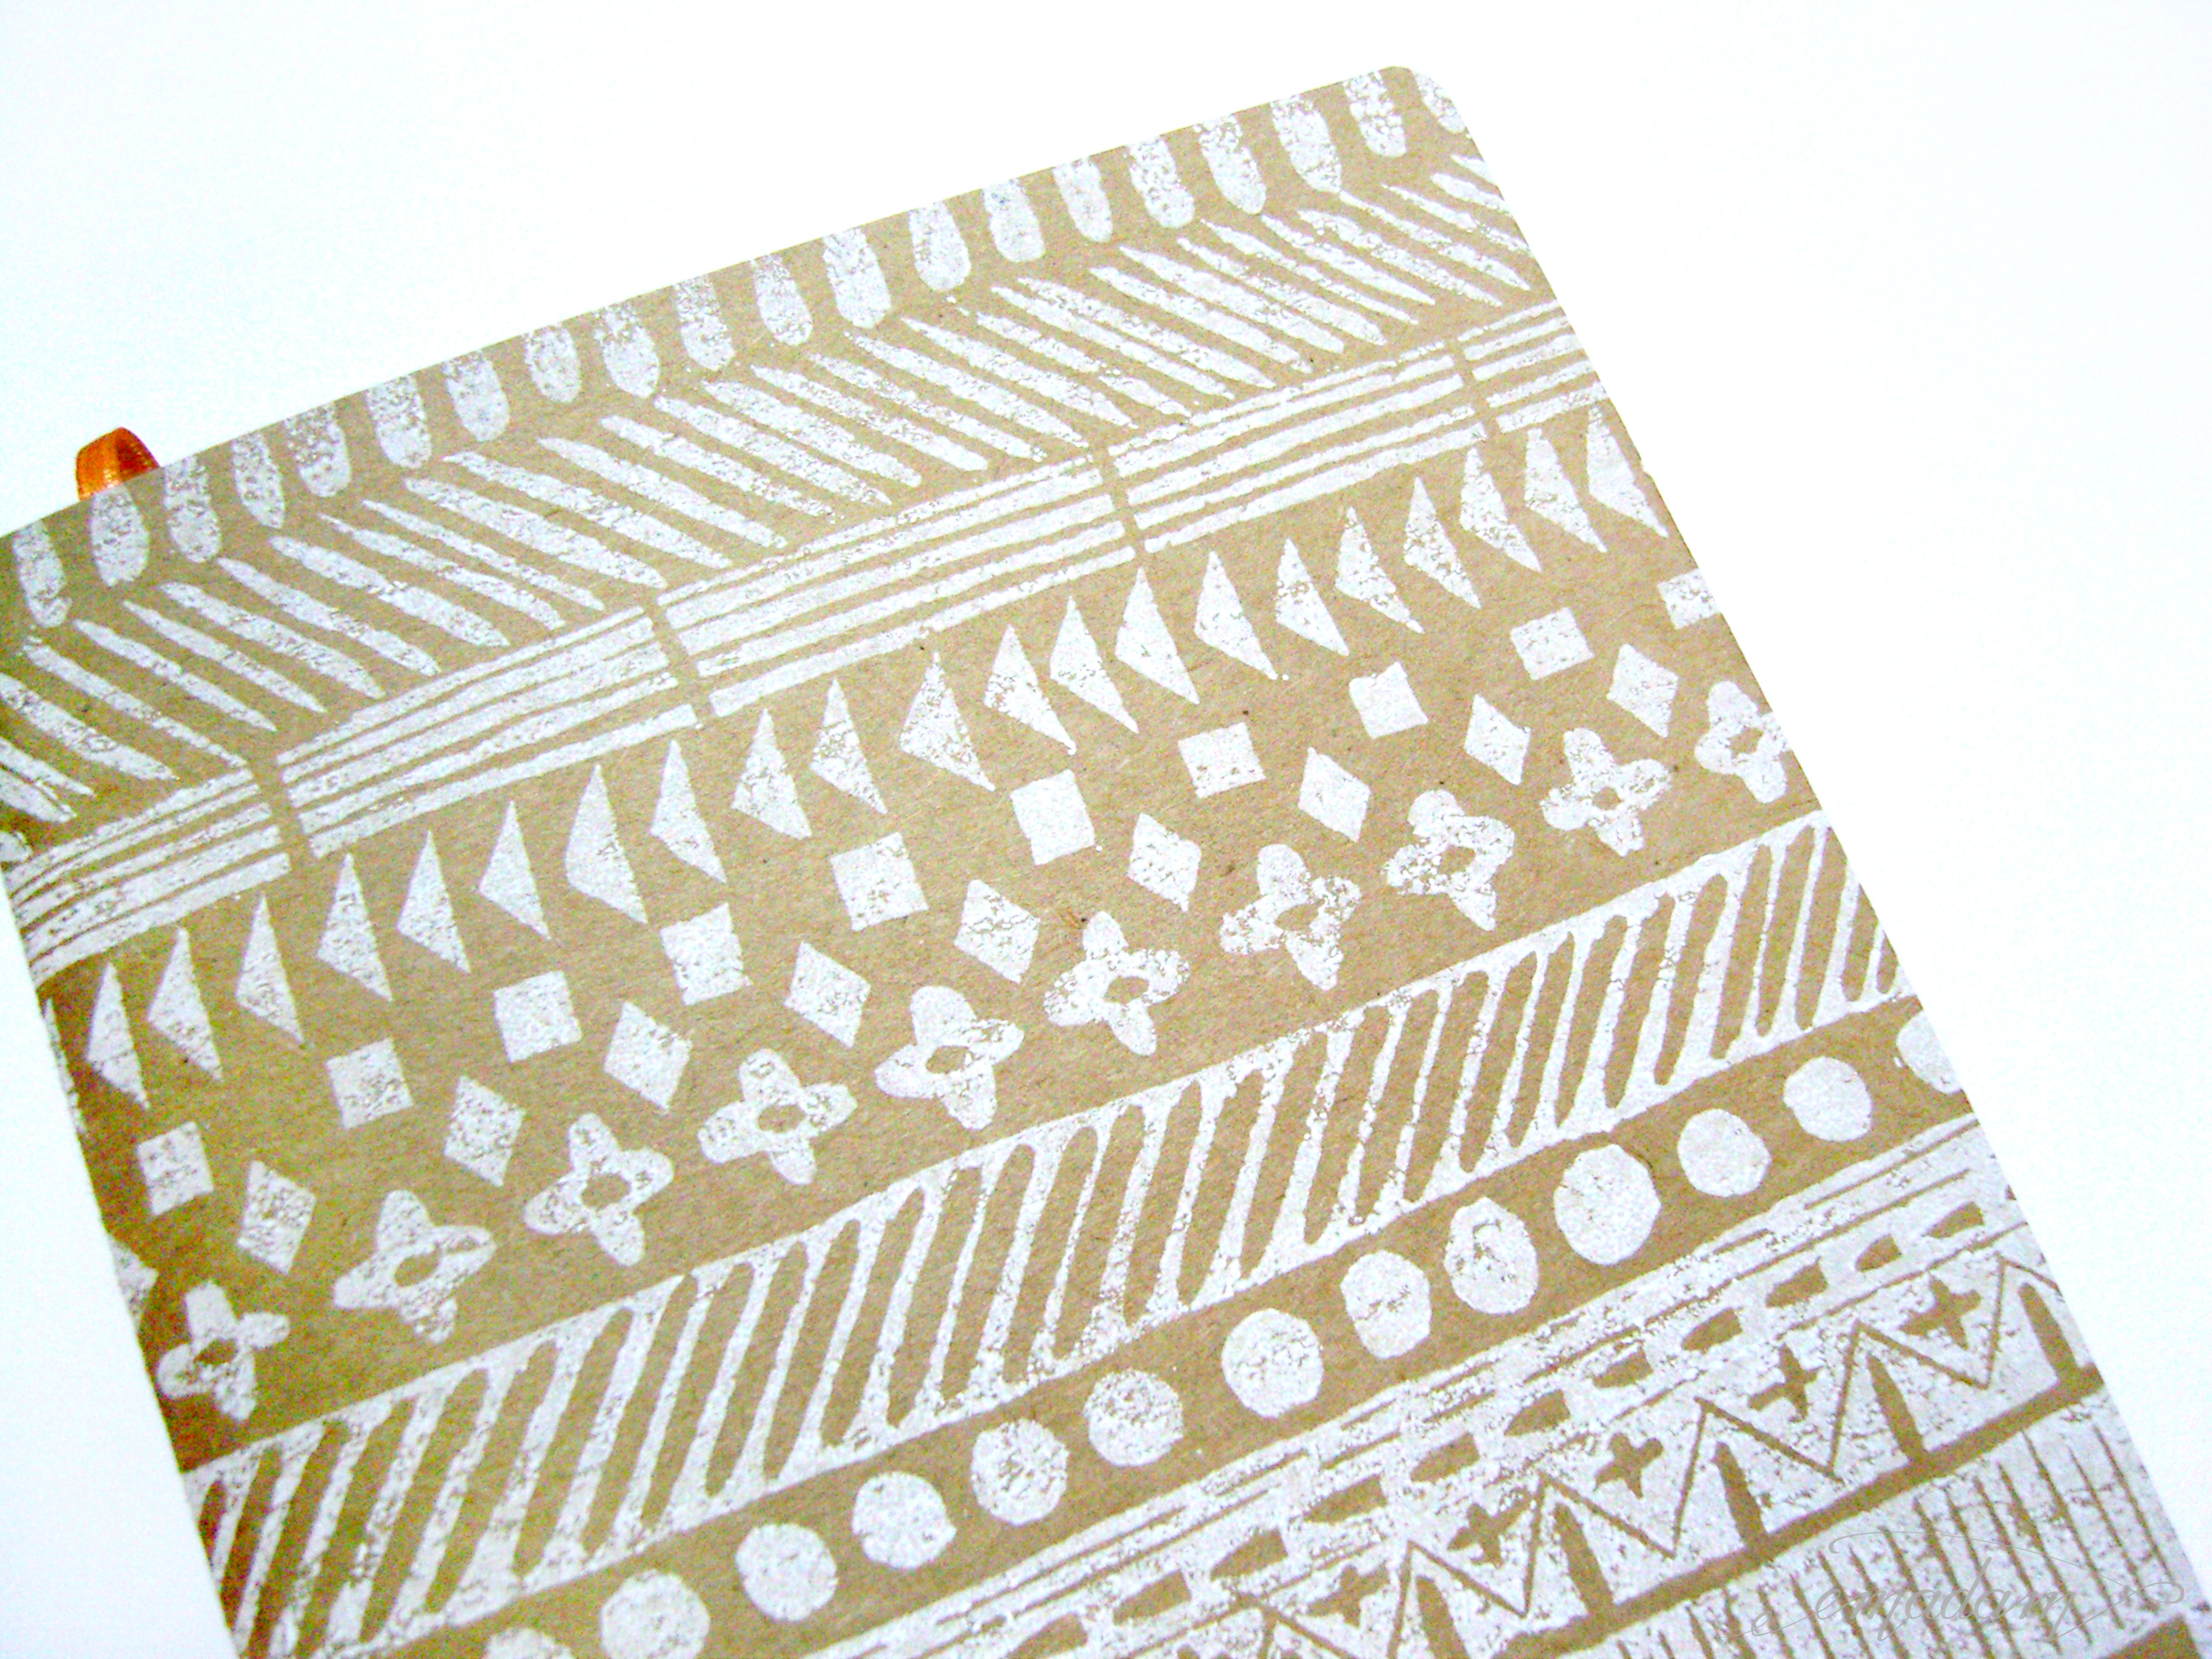
The smallest ones of my notepads are the ticket notepads. They come in a lot of different colours and every colour has it’s own design. The biggest notepads are the DIN A4 notepads. The newest addition to those is a notepad with beautiful letter paper. It has a oval in the middle where you can write down your letter and an endless tendril pattern that was drawn by hand, that flows around it.

In the video you can see the following notepads: The notepad “perpetual square” in which you can playfully add a date and time in the top part of it and use the rest of the space for a note. After that you see the “from-to-message” notepad where you also have the option to fill in a date and a recipient and a message in the graph paper section. The “magenta quilt-ruling” is a pink-coloured notepad that doesn’t have a standard format or standard ruling. The forth notepad is named “small perpetual circle” where you can also put in a date in the design and have lots of space for notes, love notes or ideas. The last notepad in the video is named “meet with” and is a minimalistic version of a notepad.

Although I like these new notepads very much, I can promise that they won’t be the last designs I make. Altogether we don’t want to get bored in our analogue love for paper!

Love,

-Franziska-

DIY: Journal with small stitching

Posted on in Bookbinding, DIY, Rubberstamps, Stationery, Work in progress.

bookbinding, kleinstichtige heftung

In this DIY tutorial I will show you how you can make your own journal with small stitching. It is similar to the exercise book binding.

You will need:

  • cardstock for the cover
  • paper for the journal, 15 sheets
  • scissors
  • two needles
  • a piece of cardstock
  • pen
  • ruler
  • awl
  • bone folder
  • thread
  • beeswax
  • a small weight
  • cutter
  • self-healing mat
  1. Make one section out of the 15 sheets and fold it in half by hand. Fold the cardstock in half with the help of the bone folder.
  2. The piece of cardstock should have the same height as the cover. With pen and ruler mark the positions where you want the holes to be.
  3. Put the cardstock with the marks into the middle of the section and with the awl make your holes. Repeat with the cover.
  4. The thread must be three times the height of the cover. Wax the thread with some beeswax and put a needle on every end of the thread.
  5. Put the cover around the section, lining up the holes. With the section openend up in the middle, put the small weight on one side so your journal won’t slip while you’re working. (The foldback clip is just for making it easier to photograph the tutorial.)
  6. Put one of the needles through the first hole. The thread should have an equal length on both sides.
  7. Put the second needle through the second hole.
  8. Pull all the thread from the inside of the journal through the second hole. Both needles should be on the outside now.
  9. Put the first needle through the second hole from the outside to the inside and make sure the thread is tight. Pay attention to not pierce the thread that is already laying in the whole with yur needle. Otherwise you won’t be able to tighten your thread when needed.
  10. The whole binding is made this way. One needle goes from the inside to the outside and the other through the same hole from the outside to the inside and then pull the thread tight. Repeat ’til only two holes are left.
  11. When you have two holes left you will only need the needle on the outside for the rest of the binding. If you want to you could finish the binding with the same method but I like to change it here because the knot and both ends of the thread won’t be that near to the edge of the finished journal.
  12. With the needle from the outside you have to go through the second to last hole to the inside and from there through the last hole out again.
  13. From the outside go through the second to last hole again. Now you won’t need the needles any more so you can put them away.
  14. Pull the thread tight and make a square knot.
  15. With the scissors cut the ends of the thread, leaving half of an inch to secure it won’t come undone. Here you can see why I don’t like to make the knot at the last hole: the ends of the thread would stick out of the bottom of the journal.
  16. Optional: You can cut the three open edges of your journal with cutter and a metal ruler if you want to. I also rounded the edges of my journal.
  17. Optional as well: I decorated my cover with different elements. With a sheet of this notepad, some pieces of old books, rubber stamps, an old stamp, some bakers-twine and sealing wax.

Have fun making your own journals!


Love

-Ema-

My new book “Meine neue Buchbinderei” (my new bookbindery)

Posted on in Bookbinding, Freebies, Pattern, Stationery.

meine neue buchbinderei www.emadam.de

Since last thursday, the 16th of March 2017, my new book “Meine neue Buchbinderei/My new bookbindery” about bookbinding is available. Unfortunately it’s only available in german. But if you know an american publisher who could like the concept let me know and my german publisher can reach out to them.

Like my first book “Meine Buchbinderei/My bookbindery” this book is filled with step-by-step tutorials for several bookbinding projects. Starting with easy projects like the swiss brochure, to medium projects like building a slipcase and ending with challenging projects like the coptic stitch. There is much to try!

Beside the tutorials for making books there are also three tutorials for making boxes. One of them you can see at the cover of the book.

I had a lot of fun making all the projects for the new book. Not at least because it gives me the possibility to give the joy of learning a trade to other people. The trade of bookbinding is near to my heart and is a part of my work as a designer and artist. For giving some more of this passion to you, I made some printable pattern and labels for you. There is a pattern of brushstrokes, a folklore pattern, a fresh heart pattern, a pattern made of mosaic windows, a geometric pattern and a hearty fall pattern. You can use the pattern for covering your books, making envelopes or using them for covering your boxes with it. Whatever floats your boot! The labels can be print too. Put them on your works for making it easier to remember whats in the book or box.

I really hope you like my book and the pattern. Have fun with it!

-Ema-

Merken

24 hour special offer

Posted on in All, Bookbinding, Graphic Design, Stationery.

If you like to take notes, scribble, draw and write you can have a special offer in my onlineshop for the next 24 hours. The popular Golden Notebooks are available! Made by hand by myself they are now available as a bundle with a special price. Choose your favorite colors for the two Golden Notebooks and I will wrap them up, send them to you and a few days later you will hold them in your hands.

You can choose between more than 20 different colors for the cover and between a golden-colored and silver-colored finishing. So there will be a combination for every taste. If for you, for the next holiday or birthday. The next occasion will be around the corner.

Grab some!


Love,

-Ema-

Merry St. Nicholas Day

Posted on in Art, Bookbinding, DIY, Freebies, Graphic Design, Illustrations, Packaging Design, Pattern, Stationery, Wallpaper.

tannenmuster vorschau

In our home it´s a tradition to make a little gift at St. Nicholas Day and I would like to incooperate this tradition into my blog. Because of that you will get a hand-illustrated pattern as a freebie today.

To match the season it is a pattern of little christmas tree branches in different sizes and colors. You can use the pattern for little christmas gifts, making envelopes or little (flat)bags or use the pattern as a background in other projects like your scrapbooking album. Please respect that the pattern are made for personal use only.

I made the pattern in different colors, so that hopefully everybody of you find a color that he or she likes. Lightgreen, Lightblue, Mossgreen, Black, Greytones and Lilac-Grey. And the same colors Lightgreen, Lightblue, Mossgreen, Black, Greytones, Lilac-Grey are also available in a different size of the pattern.

If you aren´t afraid of printing with some more ink onto your paper, then there are also some more variations. These colors have white branches and a colored background. You can have Old rose, Sand, Black und Grey. And of course there is also a option with another pattern size for Old rose, Sand, Black, and Grey.

I hope you have a great St. Nicholas Day and have fun with the pattern! And it would be awesome if you would link to my blog if you made something with the pattern.

Love,

-Ema-

My bookbindery

Posted on in All, Bookbinding.

SAMSUNG DIGITAL CAMERA

As of today my new book “Meine Buchbinderei” is available. For everyone who would like to try out bookbinding but wasn´t sure how to start. There are some basic information, tools I recommend and explain and every project has a step-by-step tutorial. The book starts with easy projects, in the middle are some medium-heavy ones and it ends with some a little bit tricky ones.

Grub your papers and tools around the house – and most of the needed ones you will already have in your house – get a book from the “bookworm agent” of your trust and let´s get started! And I would really love to see photos of your books and notepads and everything you made. Just write me a mail, make a comment down below or share your work on instagram and tag me. I´m thrilled to see everything and I hope you will have fun making books, experiment and learn new skills.

Liebe Grüße, Love

Ema

The calendar for 2016 is available

Posted on in All, Bookbinding, Graphic Design, Stationery.

If you are following me on Instagram you surely discovered that the calendar for 2016 is already in production. Last year the cover of the calendar was decorated with a round rubberstamp in the color old rose. For 2016 I wanted to keep this technique. But when I looked for the new rubberstamp motive I came across an old linoprint and a new idea was born. Why not printing a linocut on the cover?

SAMSUNG DIGITAL CAMERAFrom the graphic side the linoprint should cooperate with the style I had chosen in 2015The round rubberstamp has a pattern of circles and triangles and these elements should also be in the new linoprint.SAMSUNG DIGITAL CAMERAWhile choosing a color for the print I was looking for the possibility to print with a light color on the brown structured carboard. The decision for the white color was pretty easy.SAMSUNG DIGITAL CAMERAWithin the linocut I worked with positive and negative elements so there will be a variety in the pattern. The elements are also inspired by my project “100 ina row”.SAMSUNG DIGITAL CAMERAI used a cream-colored 80g/m² paper and printed the inner part in black. The upper part of every page holds the calendar. one double page shows two weeks. The date, calendar week, month and holidays are already printed. And there is a little smiley for every day where you can draw in the mouth, depending on your mood of the day.SAMSUNG DIGITAL CAMERA
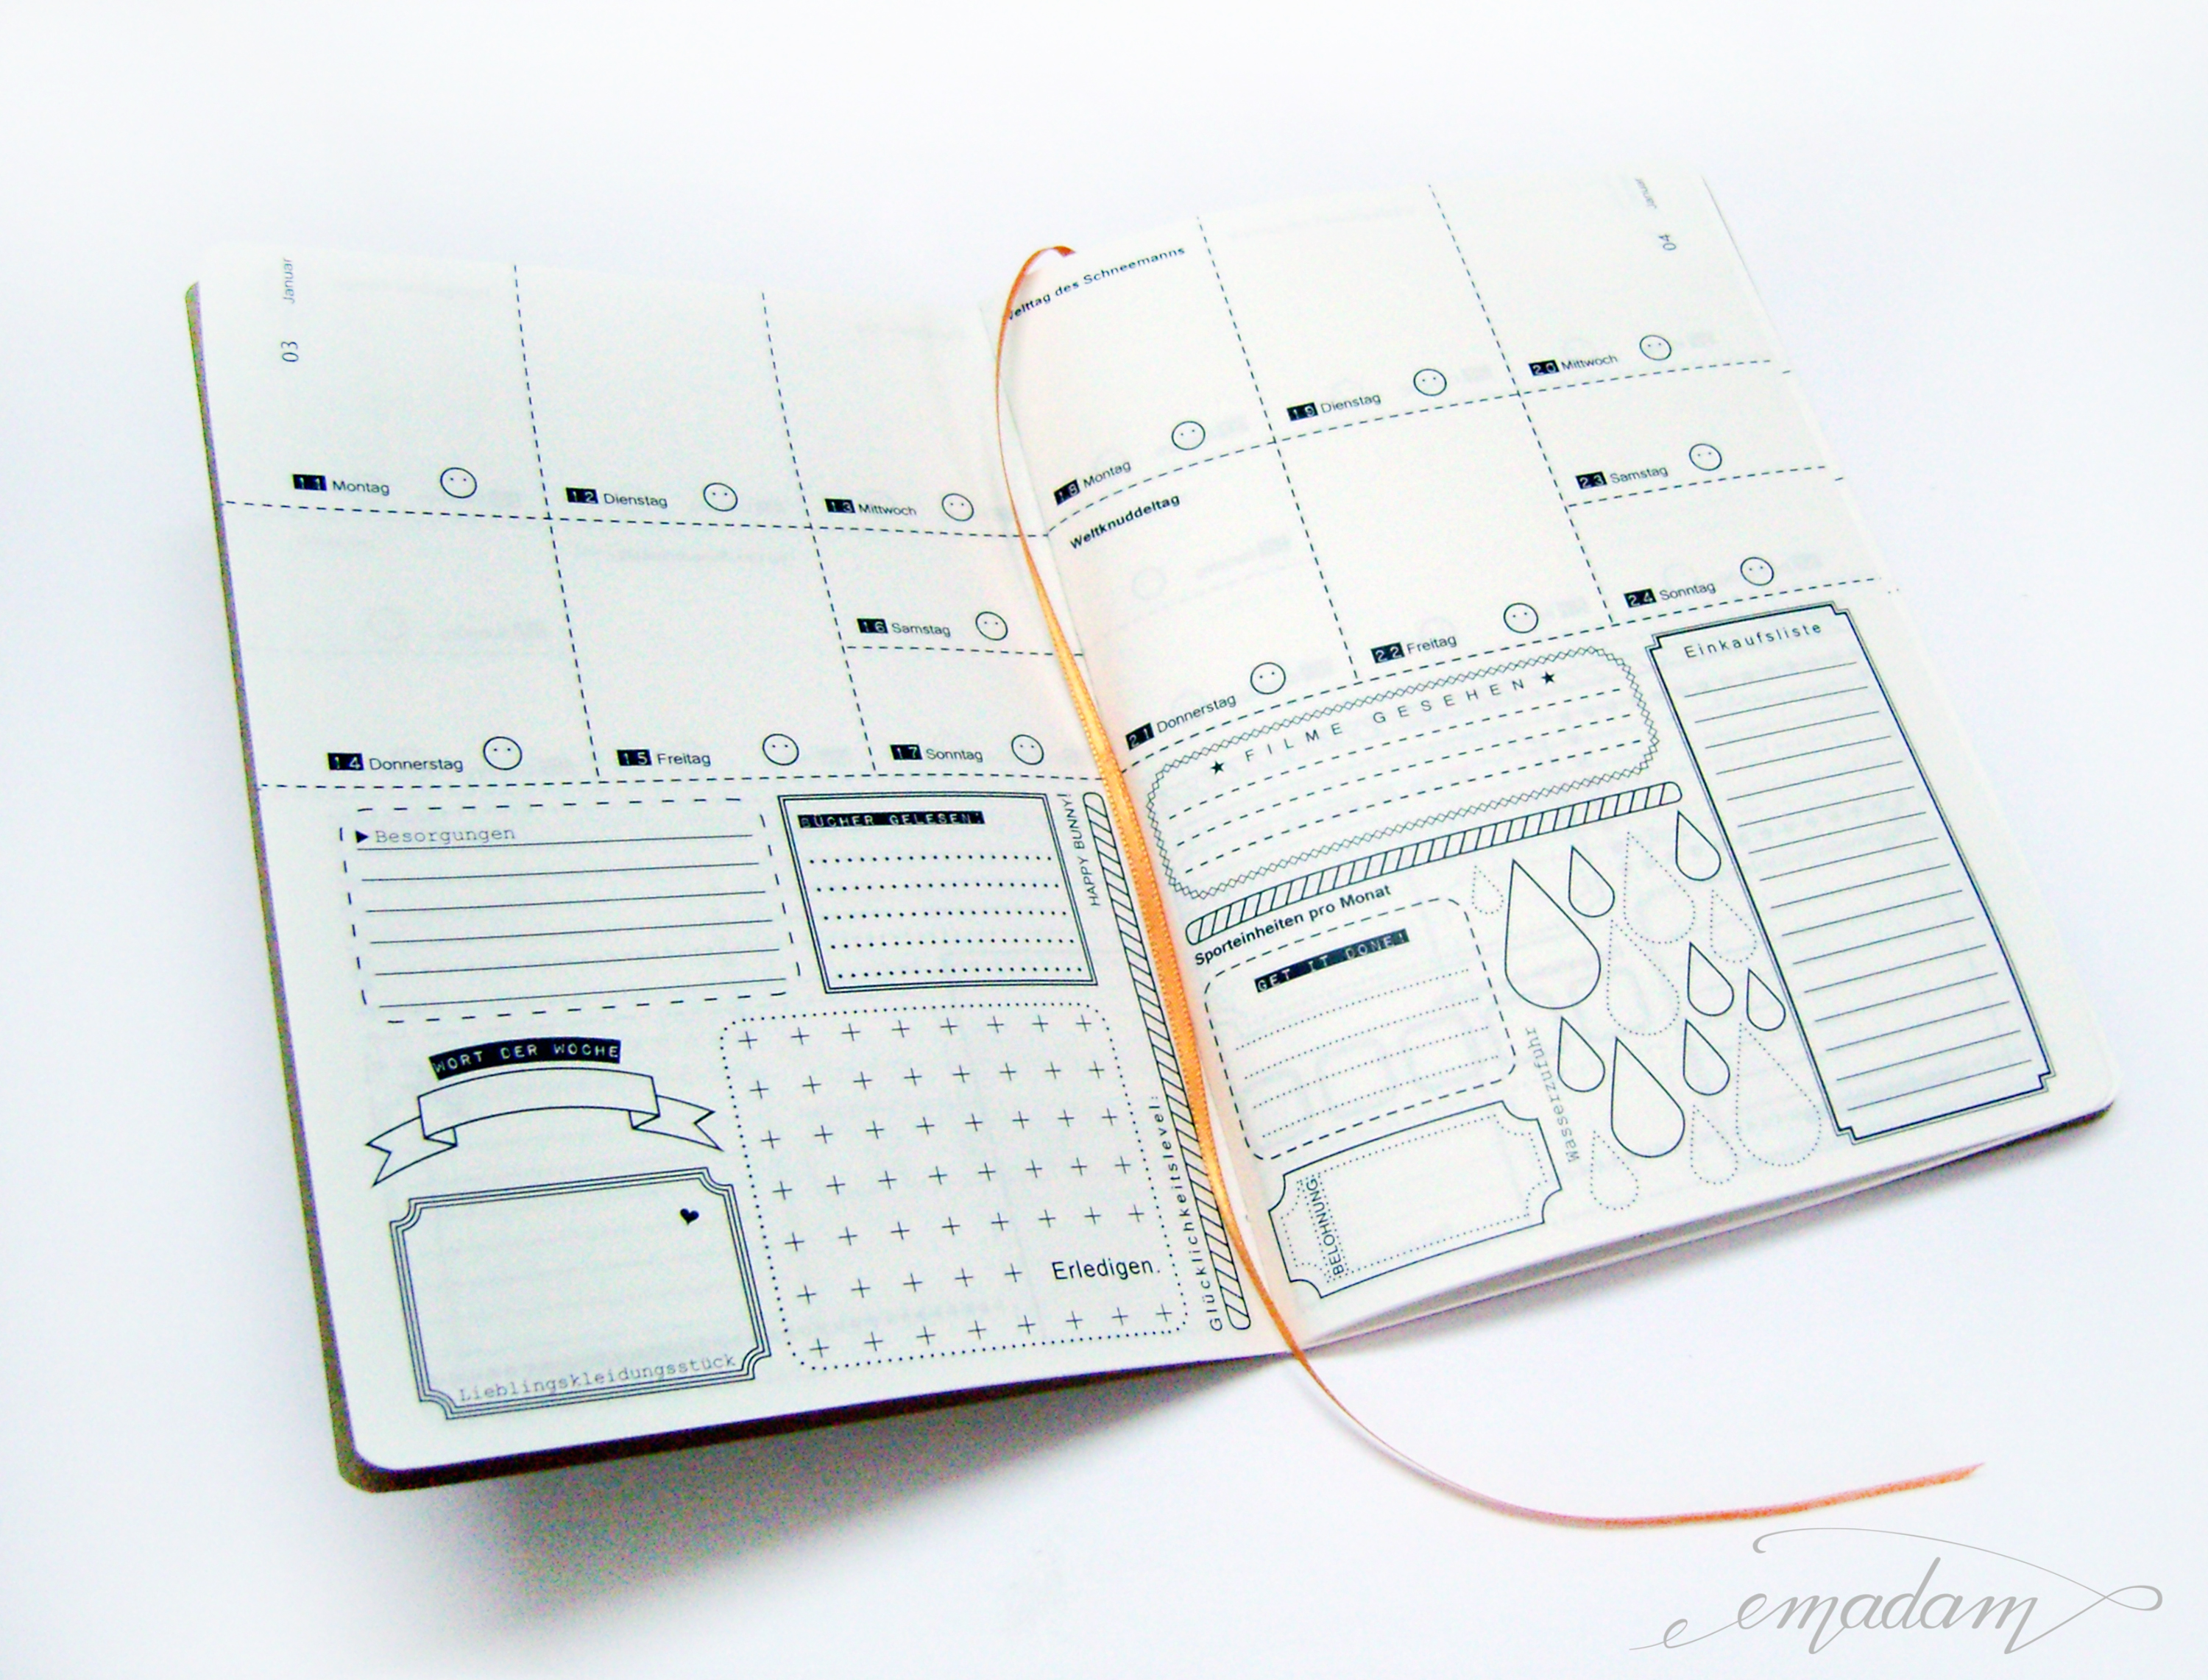
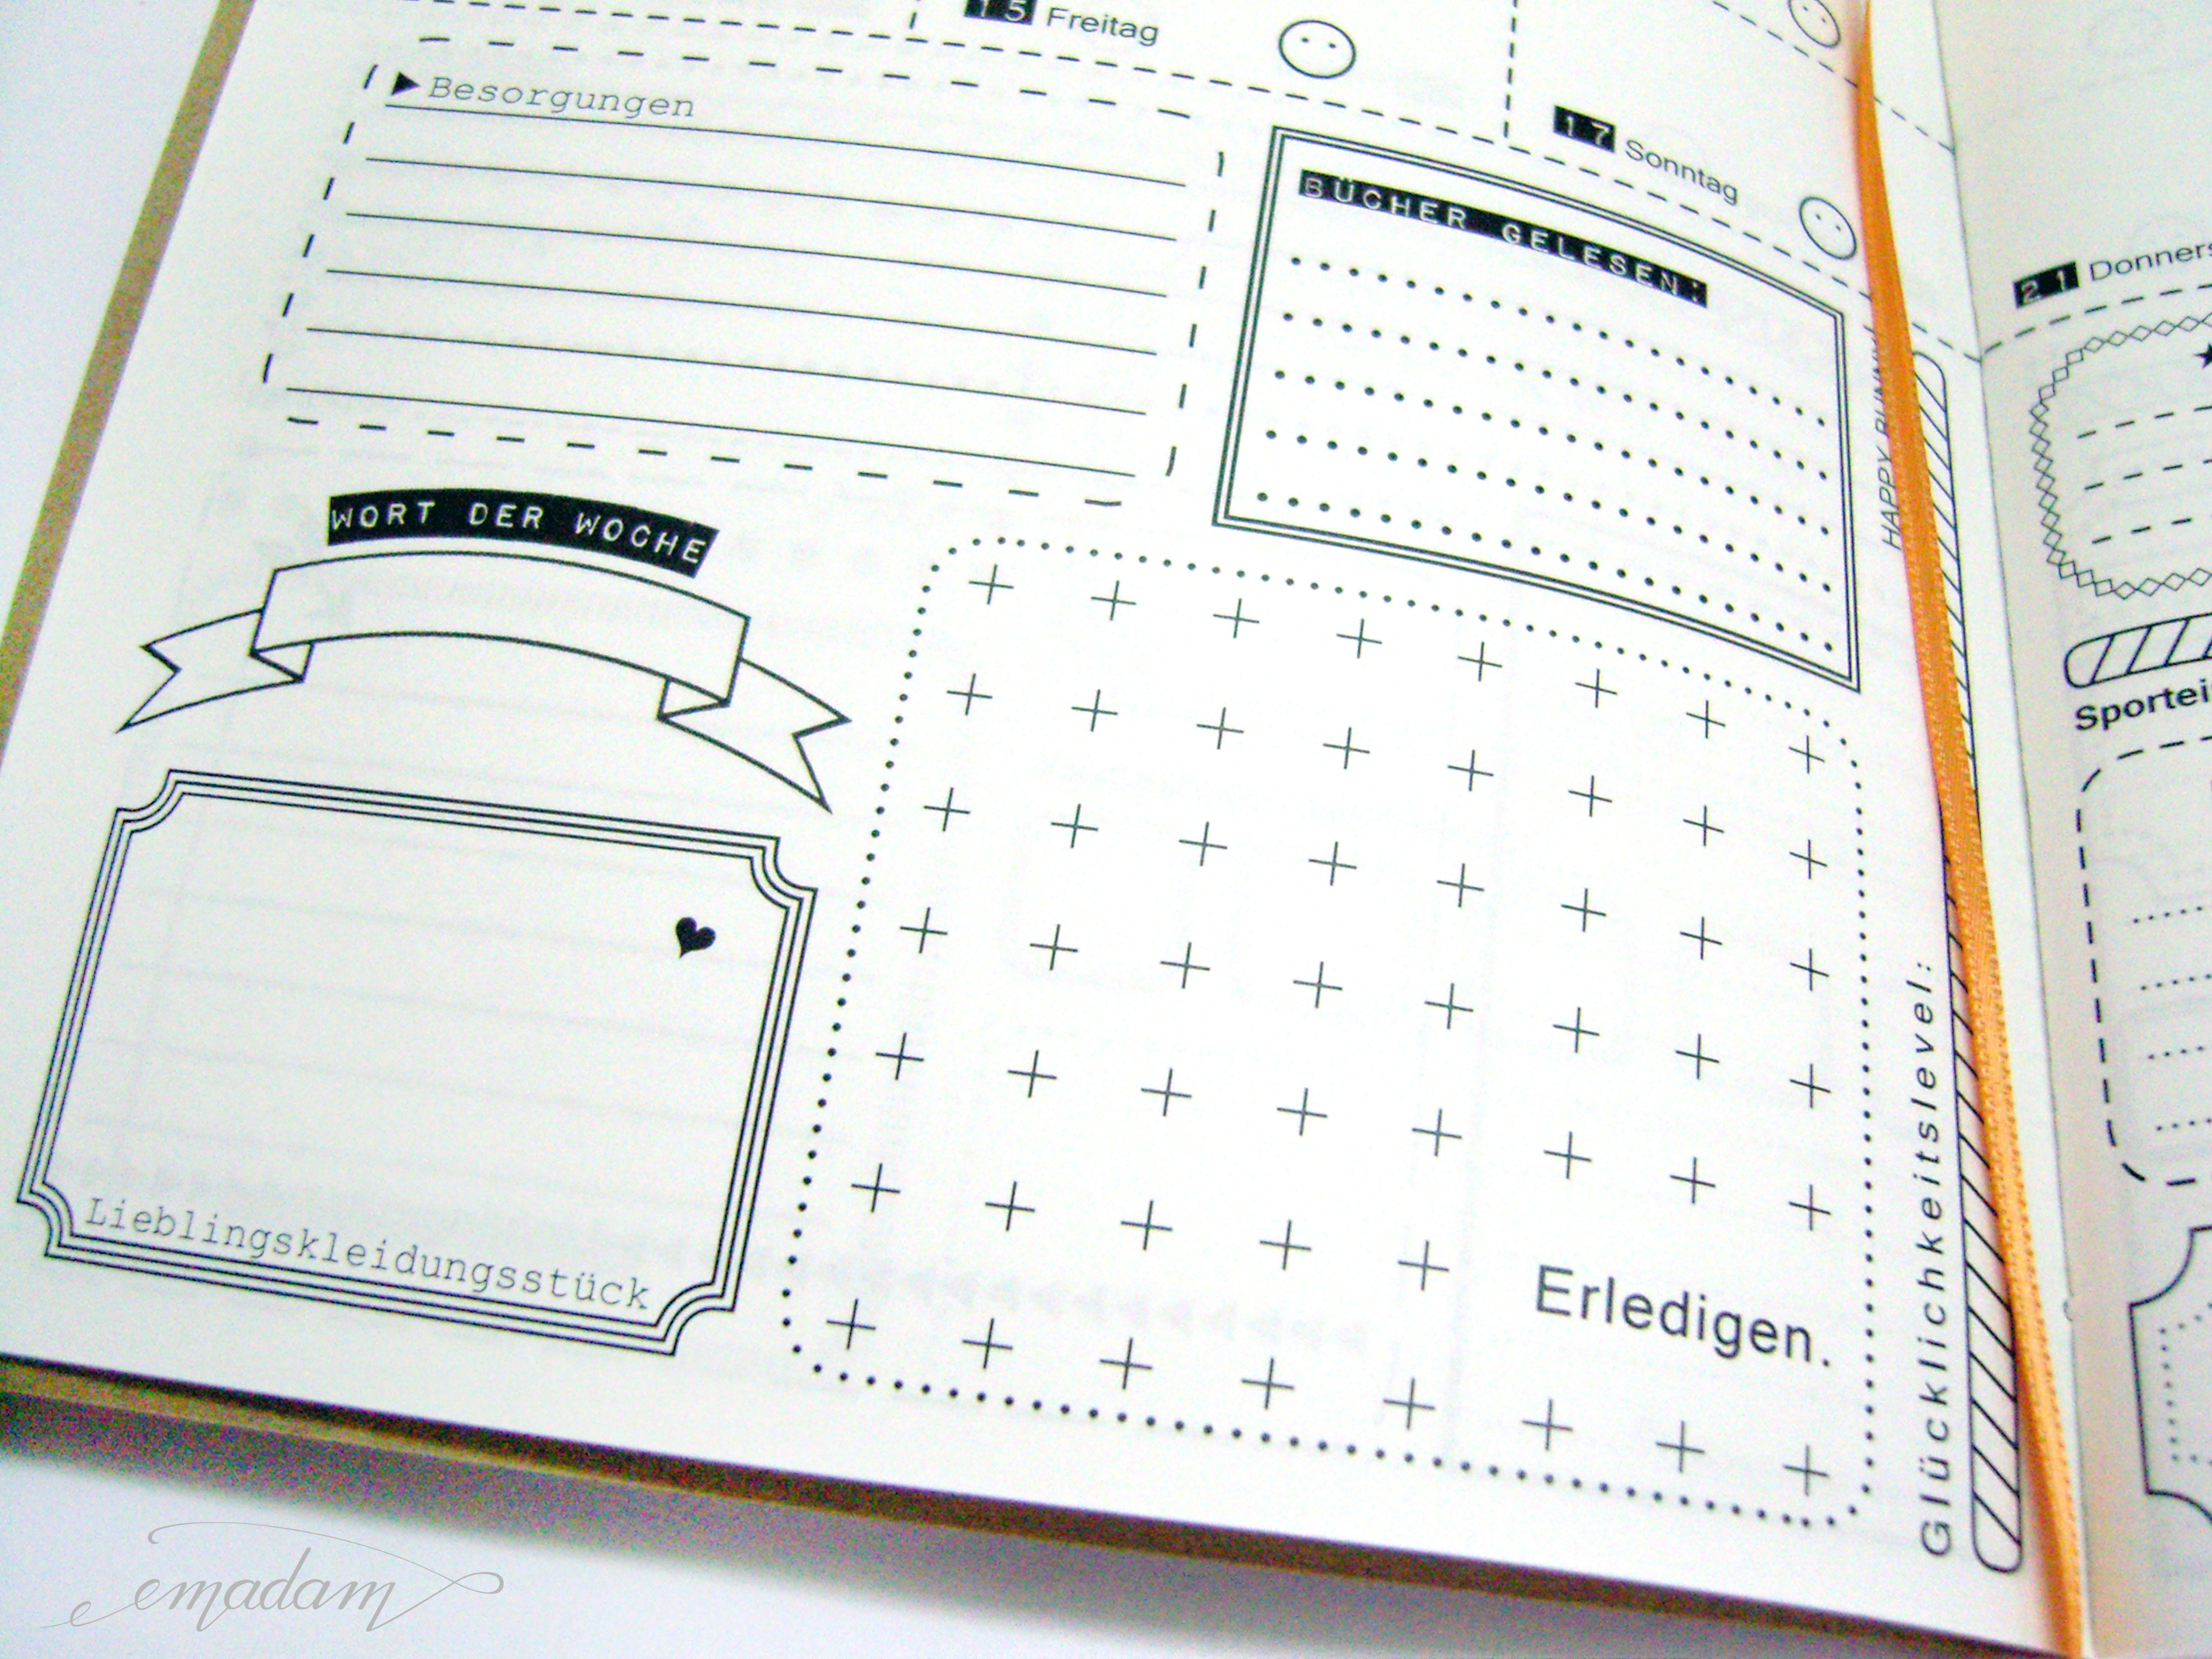
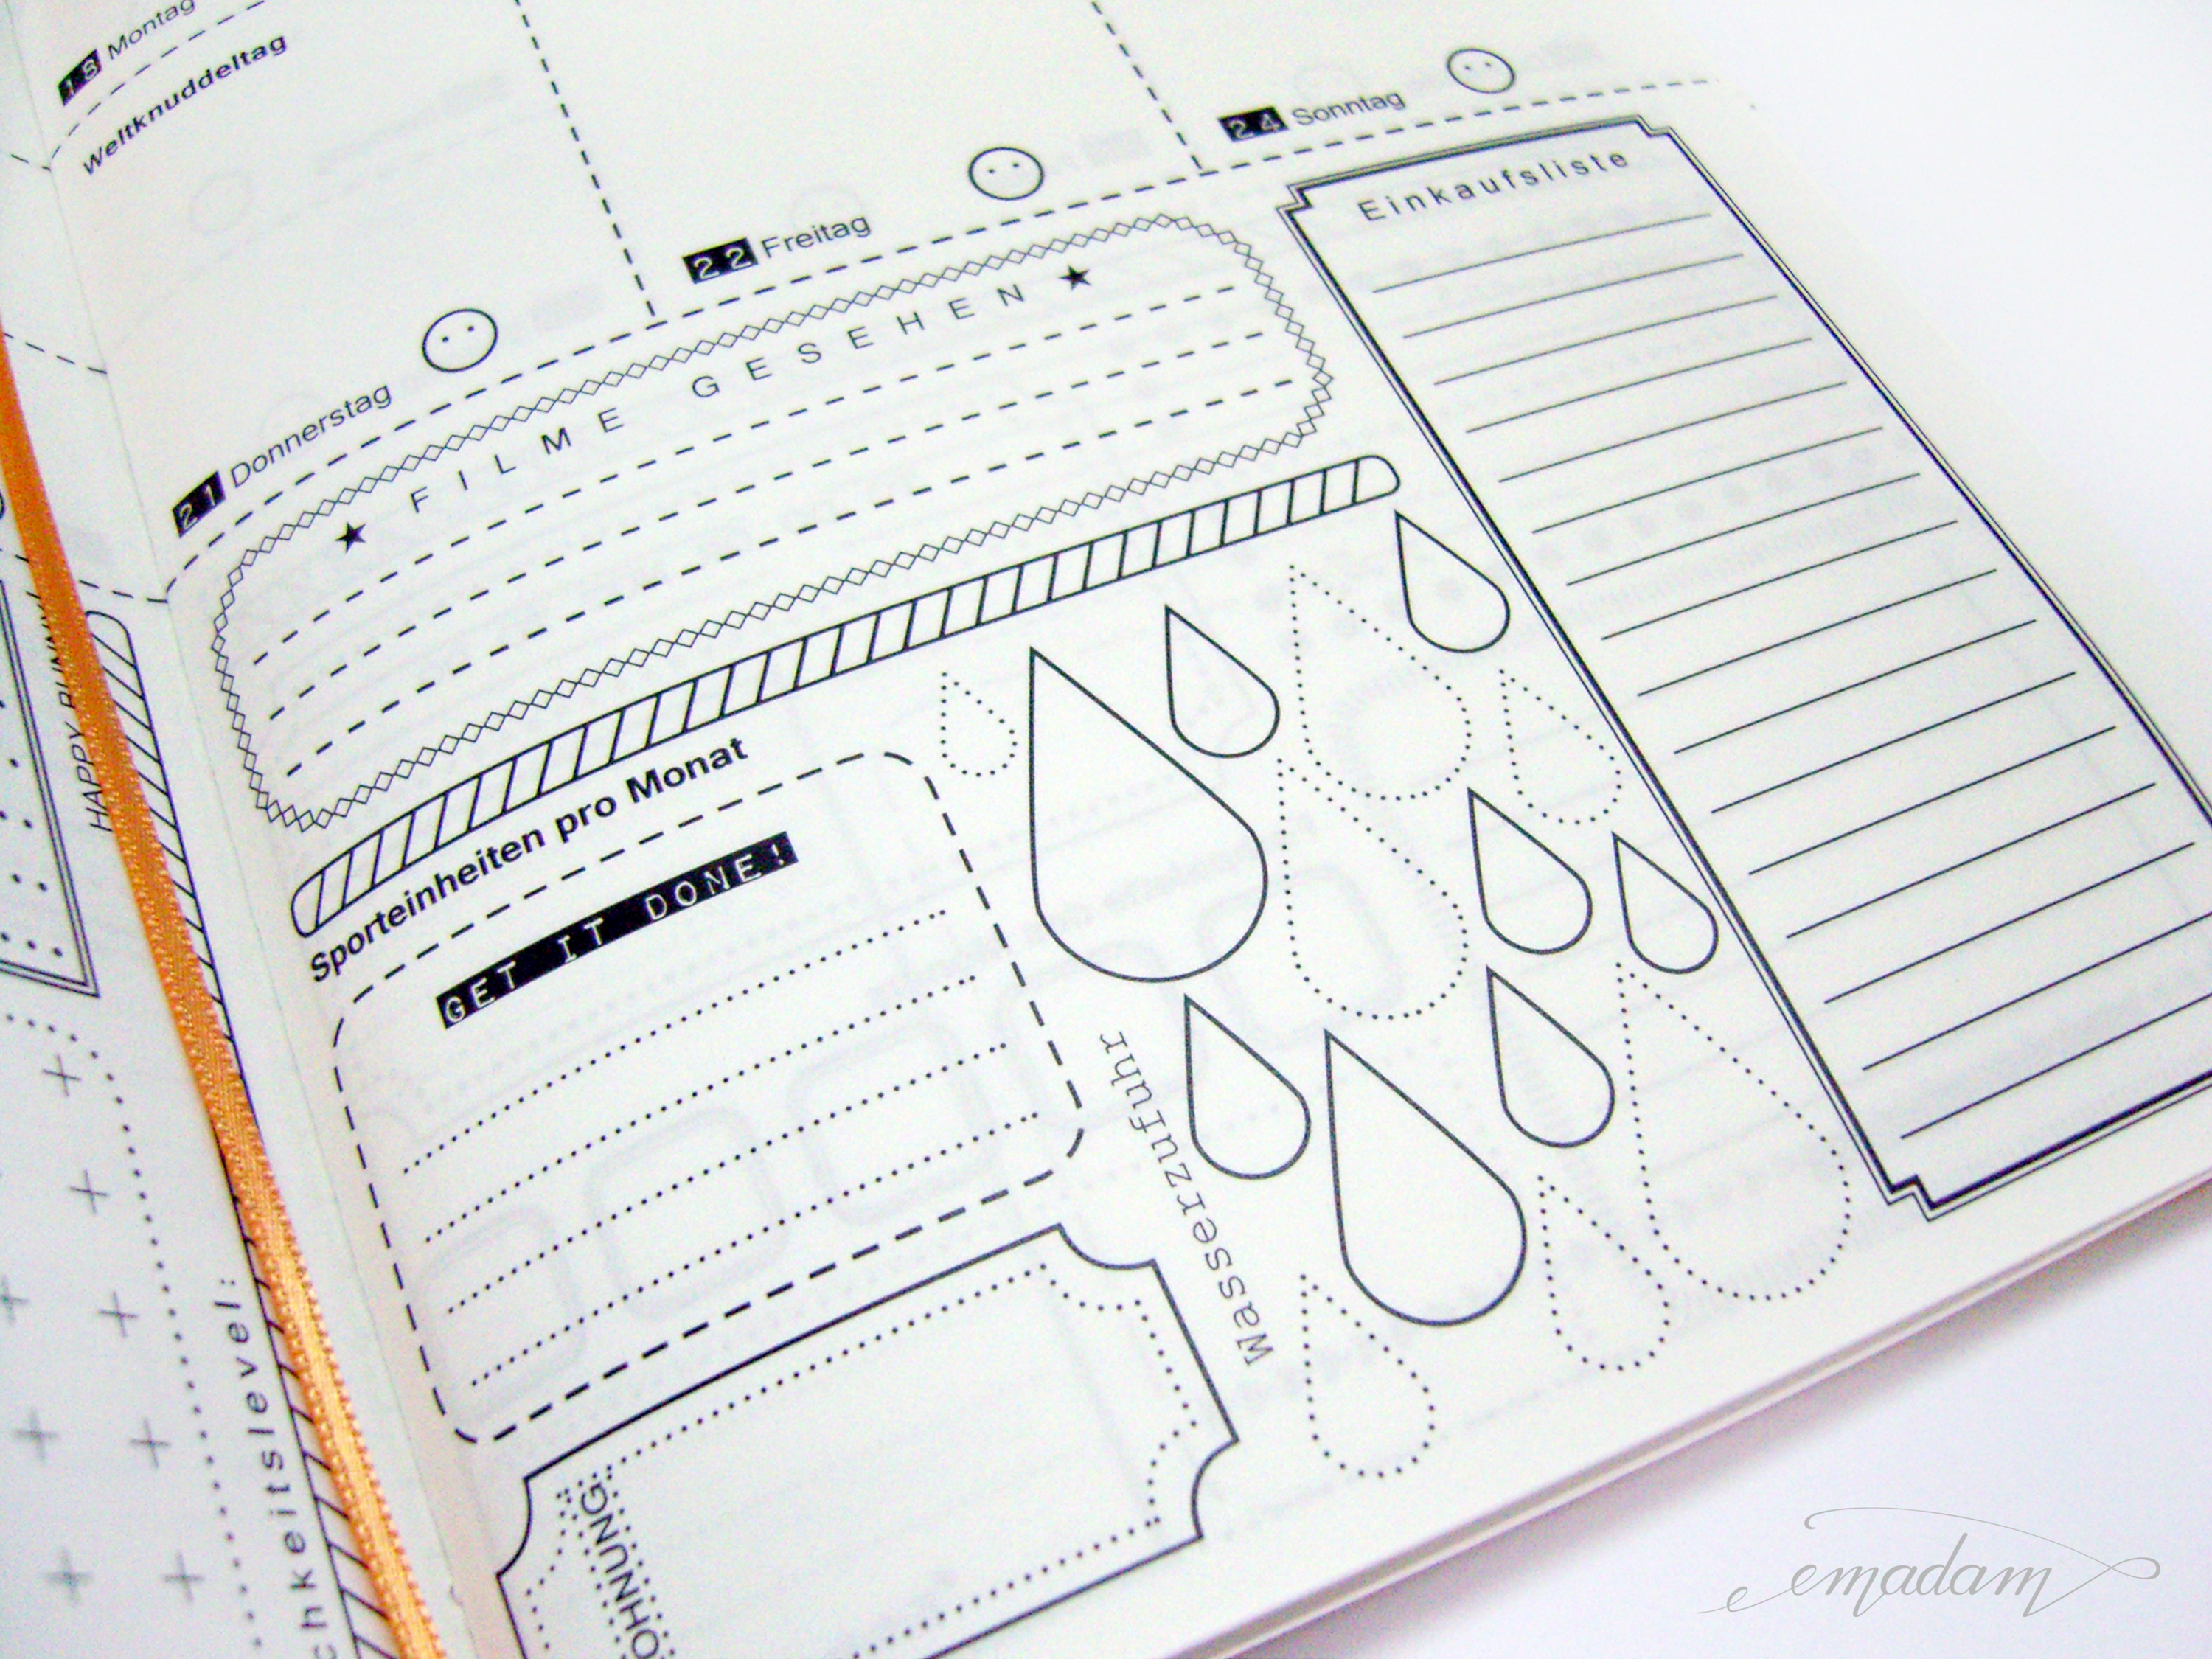
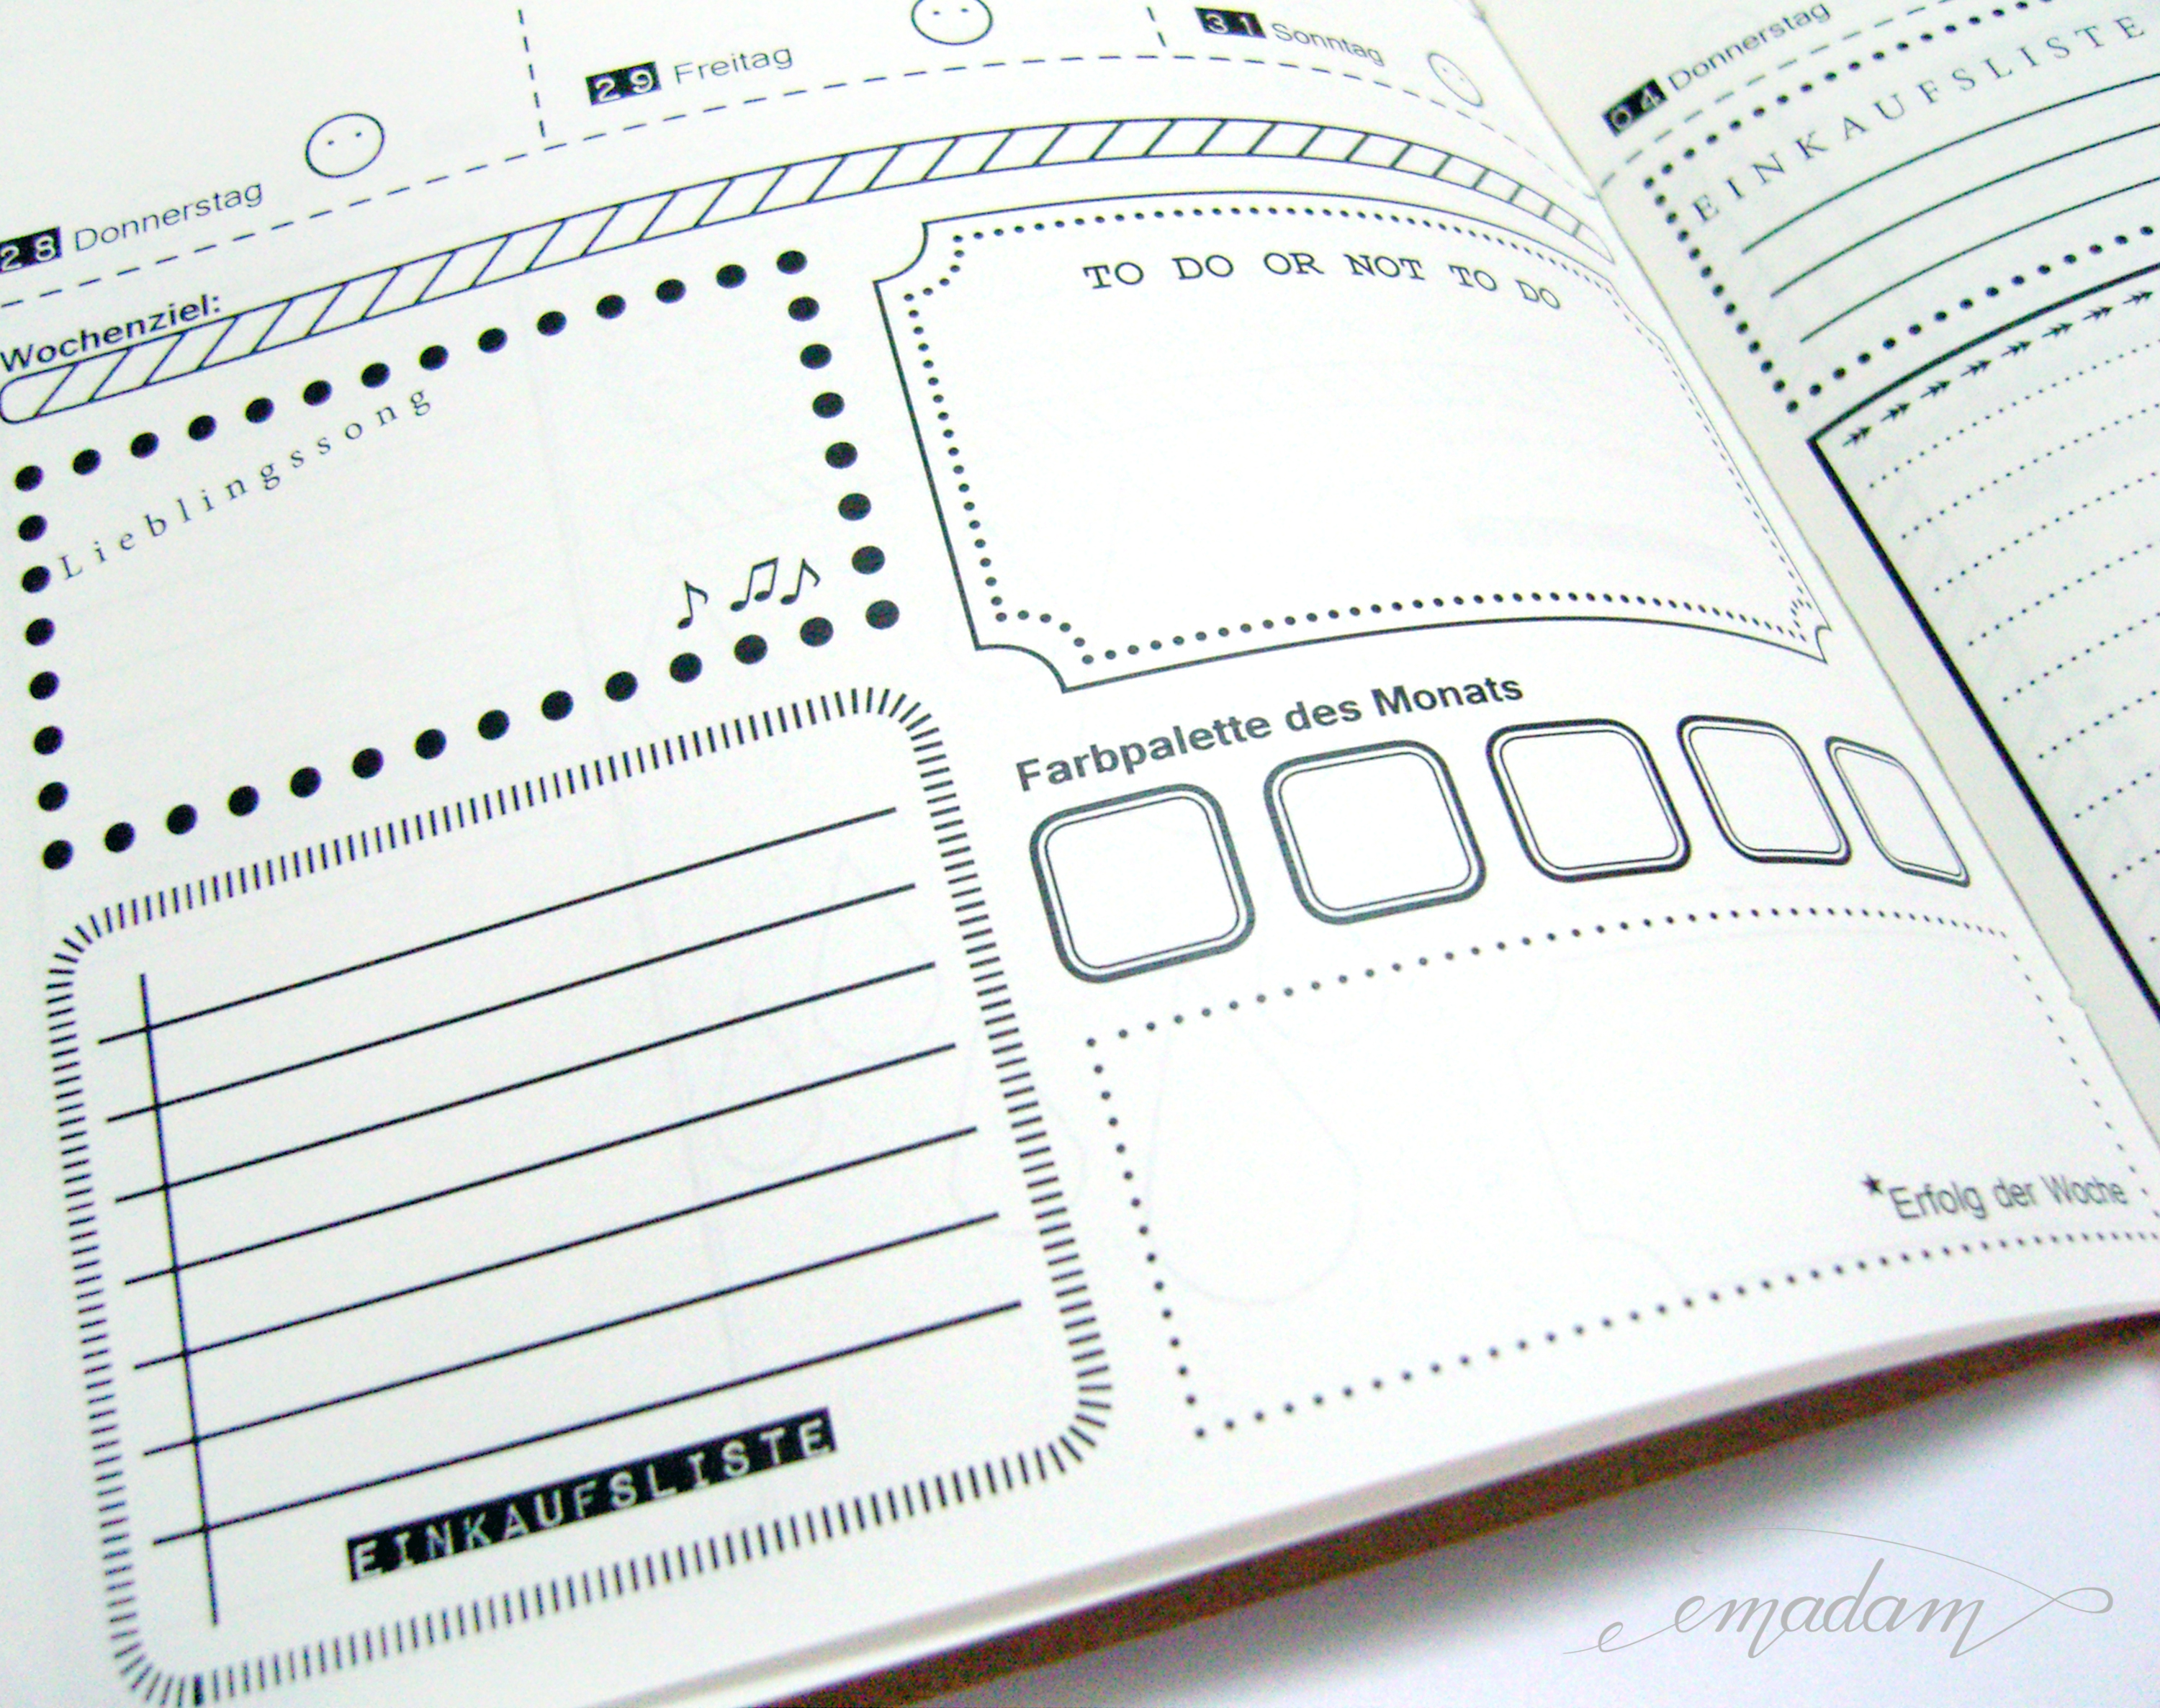
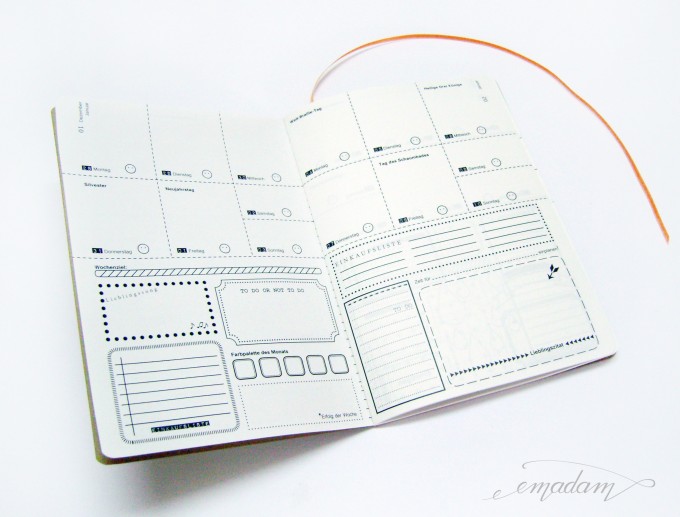
The lower part holds different boxes that can be filled in. There are two layouts that alternate. Beside shopping-lists and to-do-lists are many more that have a diary character. SAMSUNG DIGITAL CAMERAFor example there are to fill in boxes for the word of the week, your favorite clothing and read books.SAMSUNG DIGITAL CAMERABut there are also boxes for rewards, seen movies, your water intake and absolved sport rounds. SAMSUNG DIGITAL CAMERA Not to forget the color palette of the week, your weekly goal, the success of the week and your favorite song.

The calendar is obviously for people who love to keep track of some of their day-to-day, fast changing factors of life. It will be a huge fun to look into the filled up calendar and to remember what you achieved in the year, what you learned and what crazy songs, clothings and color paletttes you loved.


Love,

-Ema-