
In this DIY tutorial I will show you how you can make your own journal with small stitching. It is similar to the exercise book binding.
You will need:
- cardstock for the cover
- paper for the journal, 15 sheets
- scissors
- two needles
- a piece of cardstock
- pen
- ruler
- awl
- bone folder
- thread
- beeswax
- a small weight
- cutter
- self-healing mat
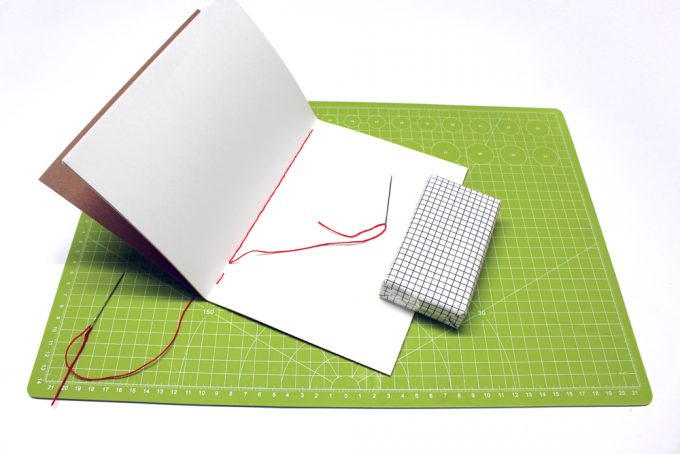
- Make one section out of the 15 sheets and fold it in half by hand. Fold the cardstock in half with the help of the bone folder.
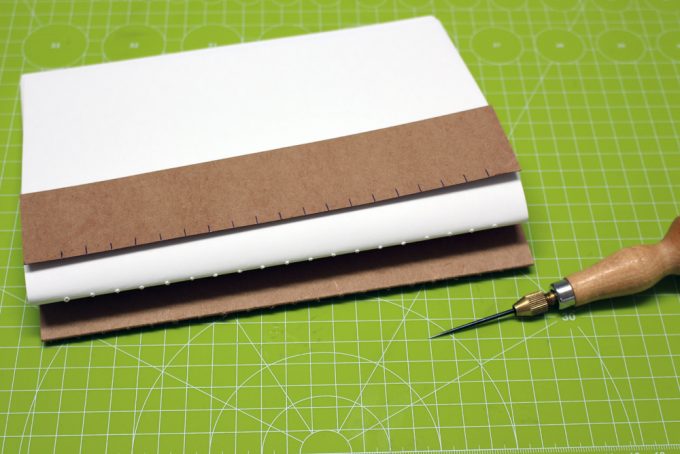
- The piece of cardstock should have the same height as the cover. With pen and ruler mark the positions where you want the holes to be.
- Put the cardstock with the marks into the middle of the section and with the awl make your holes. Repeat with the cover.
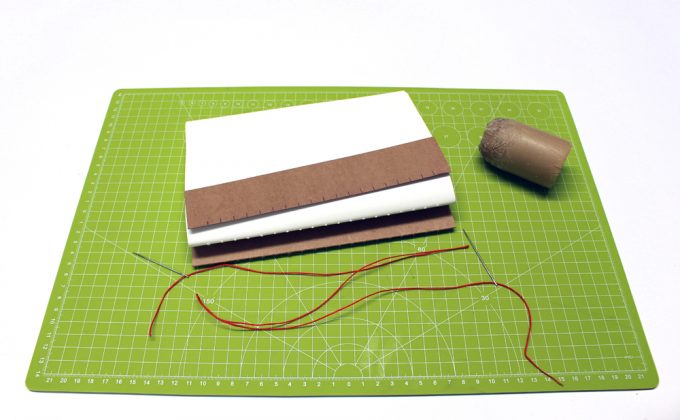
- The thread must be three times the height of the cover. Wax the thread with some beeswax and put a needle on every end of the thread.
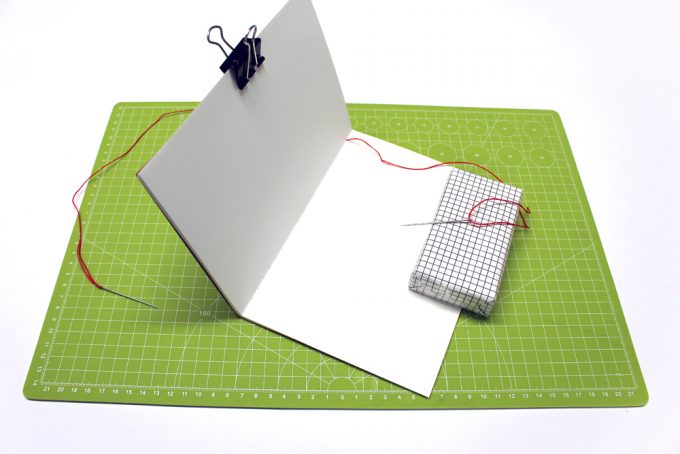
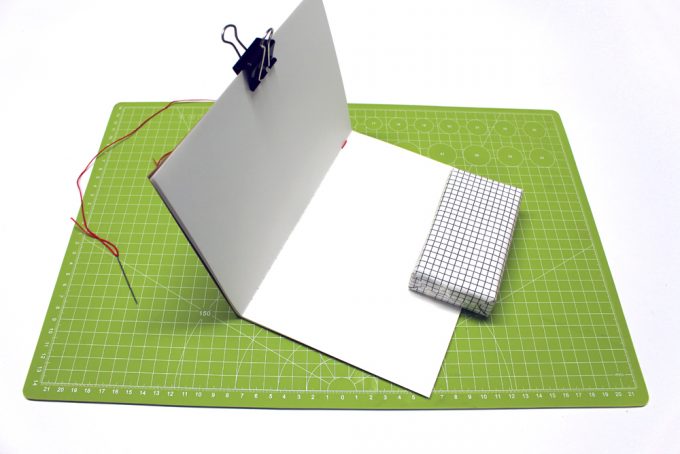
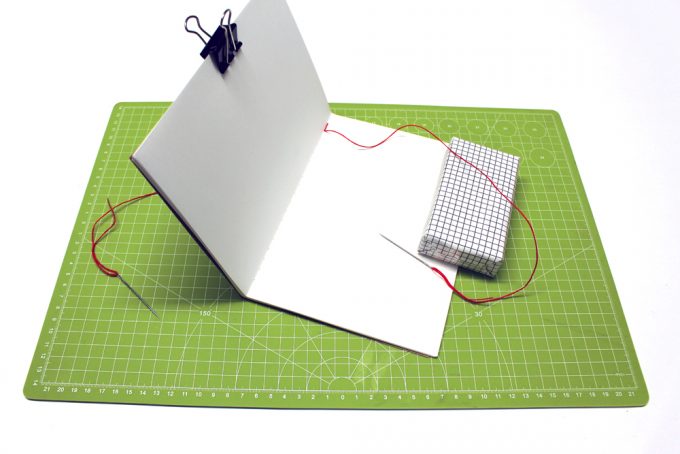
- Put the cover around the section, lining up the holes. With the section openend up in the middle, put the small weight on one side so your journal won’t slip while you’re working. (The foldback clip is just for making it easier to photograph the tutorial.)
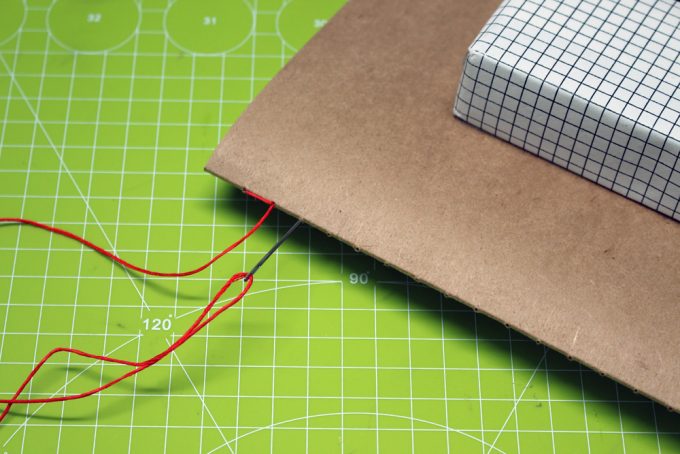
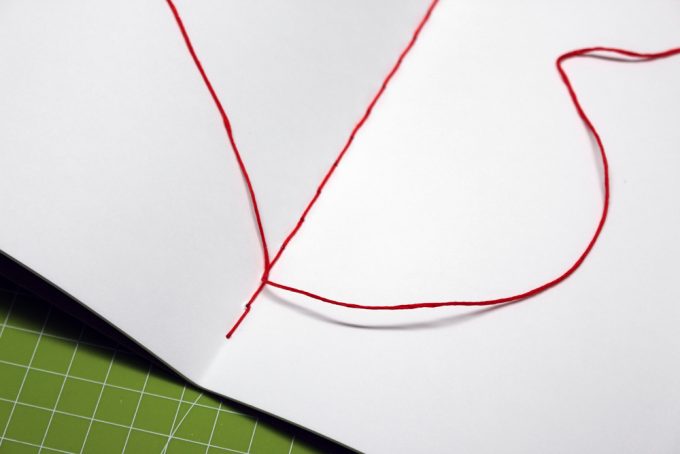
- Put one of the needles through the first hole. The thread should have an equal length on both sides.
- Put the second needle through the second hole.
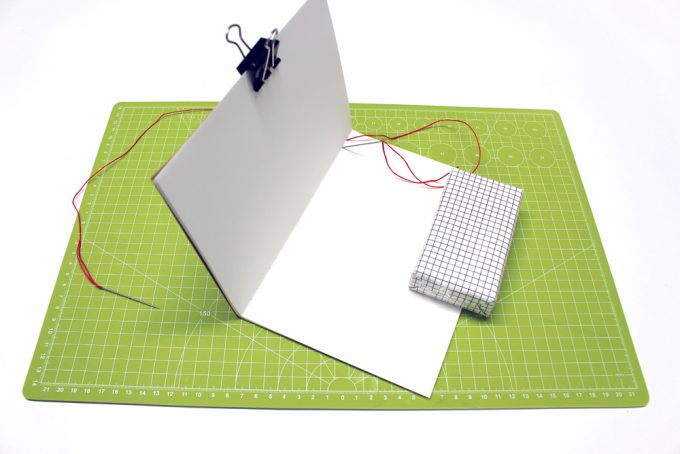
- Pull all the thread from the inside of the journal through the second hole. Both needles should be on the outside now.
- Put the first needle through the second hole from the outside to the inside and make sure the thread is tight. Pay attention to not pierce the thread that is already laying in the whole with yur needle. Otherwise you won’t be able to tighten your thread when needed.
- The whole binding is made this way. One needle goes from the inside to the outside and the other through the same hole from the outside to the inside and then pull the thread tight. Repeat ’til only two holes are left.
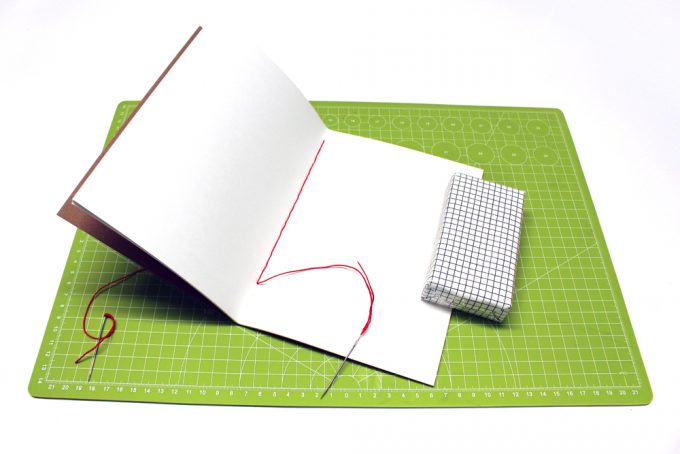
- When you have two holes left you will only need the needle on the outside for the rest of the binding. If you want to you could finish the binding with the same method but I like to change it here because the knot and both ends of the thread won’t be that near to the edge of the finished journal.
- With the needle from the outside you have to go through the second to last hole to the inside and from there through the last hole out again.

- From the outside go through the second to last hole again. Now you won’t need the needles any more so you can put them away.
- Pull the thread tight and make a square knot.
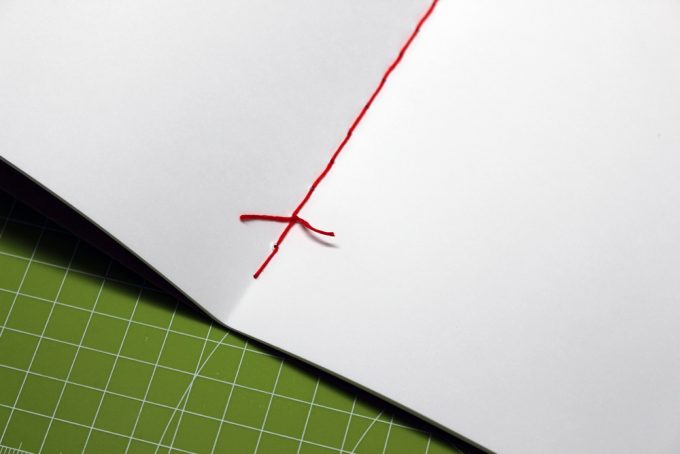
- With the scissors cut the ends of the thread, leaving half of an inch to secure it won’t come undone. Here you can see why I don’t like to make the knot at the last hole: the ends of the thread would stick out of the bottom of the journal.
- Optional: You can cut the three open edges of your journal with cutter and a metal ruler if you want to. I also rounded the edges of my journal.
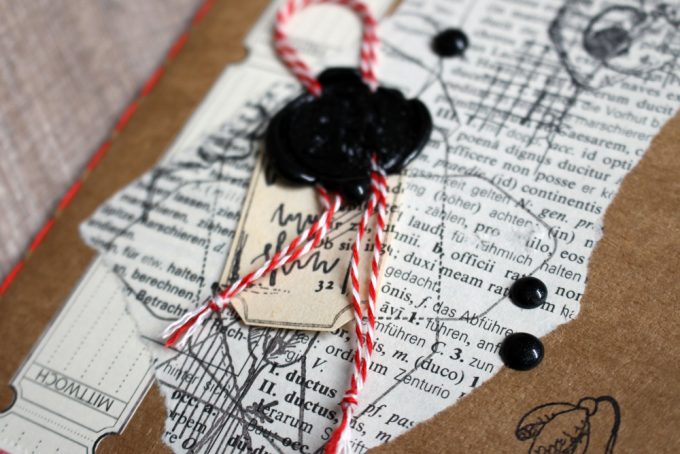
- Optional as well: I decorated my cover with different elements. With a sheet of this notepad, some pieces of old books, rubber stamps, an old stamp, some bakers-twine and sealing wax.
Have fun making your own journals!
Love
-Ema-