Category Archives: Rubberstamps

Tutorial: Christmas card with dried flowers

Posted on in All, DIY, Rubberstamps, Stationery.

Hey guys, let’s make an easy christmas card with some dried flowers and a piece of ribbon.

First you want to cut your piece of dried flower to the size you want and optional, give it some color or glitter by dapping some on. I like to dap some color/glitter on the top of each branch so you have a little sparkle but you can see the original color on the rest of the branches. Set the flower aside and let it dry.

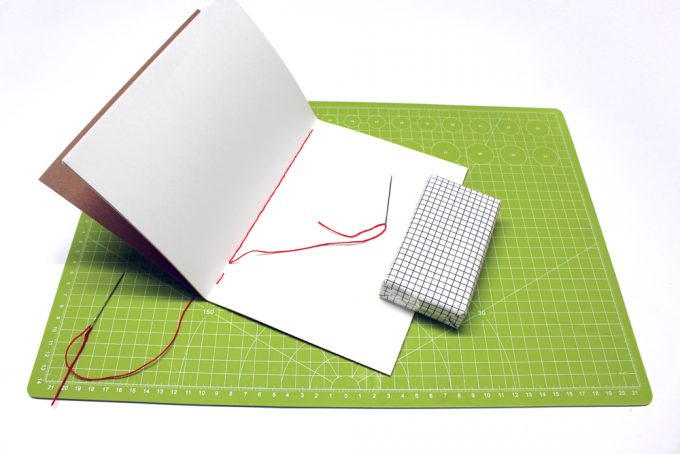
I used off-white cardstock as my base and cut a piece of light brownish cardstock to size to use as my second layer. I always cut the second layer a little bit smaller than my base so I get a nice border when attaching it to the base later.

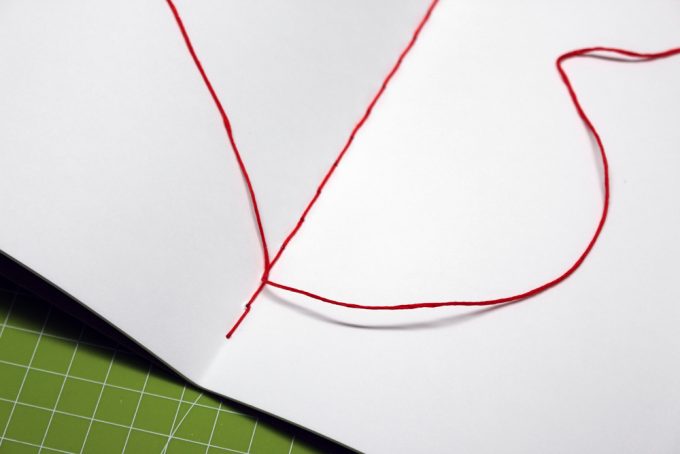
With a candy cane stamp and some white stamp ink, I stamped a simple pattern on my second layer and added a piece of ribbon to it, which I attached with double-sided adhesive tape.

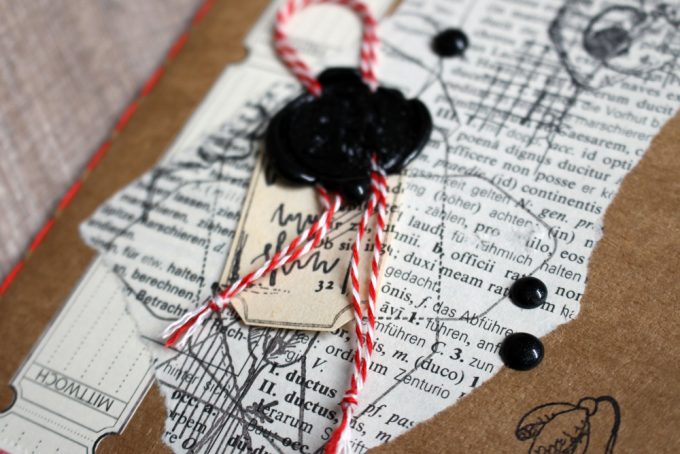
On a smaller piece of the off-white cardstock I stamped “Frohe Weihnachten” (which means “Merry christmas” in german) in a light brown ink and to give it an interesting shape I cut off all four corners of my banner. On the back I used some double-sided adhesive foam rubber.

Use a dap of glue – I used bookbinding glue – to secure your flower piece to your card, hold it in place and adhere your banner over the cut end of your flower piece.

Put some glue (again I’m using bookbinding glue but you can also use the double-sided adhesive tape you used for the ribbon or a glue stick) on the back of your second layer and adhere it onto your base card.

Your card is ready to make someone else happy!

Love,

-Ema-

How to use the rubber stamp “social circle”

Posted on in Graphic Design, Rubberstamps, Stationery.

Here is an example on how to fill out my new rubber stamp the “social circle”. You can write down a date, name and place for the upcoming social engagment. In the middle is a clock where you can draw in the hand clock to define a time and you can mark with some colour what kind of sociel engagment it will be. A meeting or a party or even a rendezvous? To all that you can also mark if it’s a regular or an important social engagment and if confidentiality is needed.

Of course some of the fields ar optional. If you use the rubber stamp for remembering that an e-mail or a call is due on day X, I won’t need to fill out a place. Or instead of a private persons name I can fill in the name of my dentist and make sure I keep track of my next appointment.

Or you use the rubber stamp for your nect party invitations! What would you use the rubber stamp for? Let me know in the comments!

Love,

-Franziska-

Sealing a small package

Posted on in All, Art, DIY, Packaging Design, Rubberstamps, Stationery, Work in progress.

No matter if it’s a small or a big package – sealing them with wax is so much fun! In this video I packed up a notecard set in a semi-transparent paperbag, decorated it with a piece of an old bookpage, some rubber stamps and a red/white twine and sealed it with a black wax seal were I put a small flake of roségolden metal on.

Because of the roségolden metal flake some of the details of the seal get a little bit lost but I don’t think it derogates it.

Love,

-Franziska-

Small illustration

Posted on in All, Art, Graphic Design, Illustrations, Rubberstamps, Stationery, Work in progress.

I made a timelapse video of a small tassel illustration. Unfortunately the end of the video is missing because I was so concentrated on drawing that my smartphone slipped out of my hand. But I think you get a small glance at how my illustration work looks like.

Later I scanned the illustration in high-resolution and made a stamp out of it.

Love,

-Franziska-

New autumn rubberstamps

Posted on in All, Art, Graphic Design, Illustrations, Rubberstamps, Stationery.

Autumn is fast approaching and this year I’m prepared! At least as far as for having autumn-like rubberstamps for decorating my snailmail. For some time mushroom illustrations have been increasing in my sketchbooks. Some of them are now available as rubberstamps, so you can celebrate autumn with your snailmail friends as well.
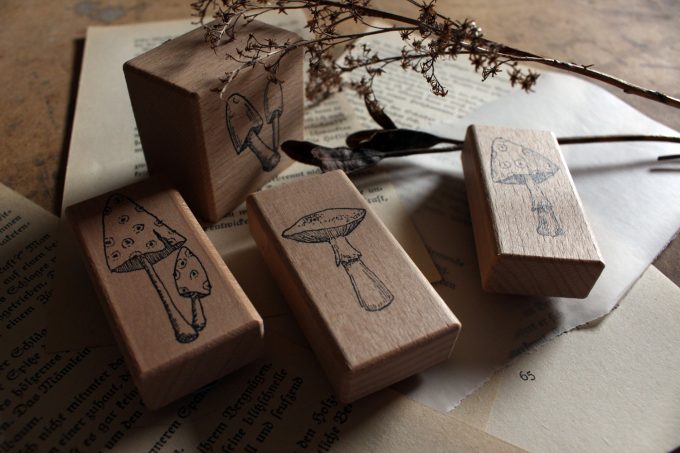
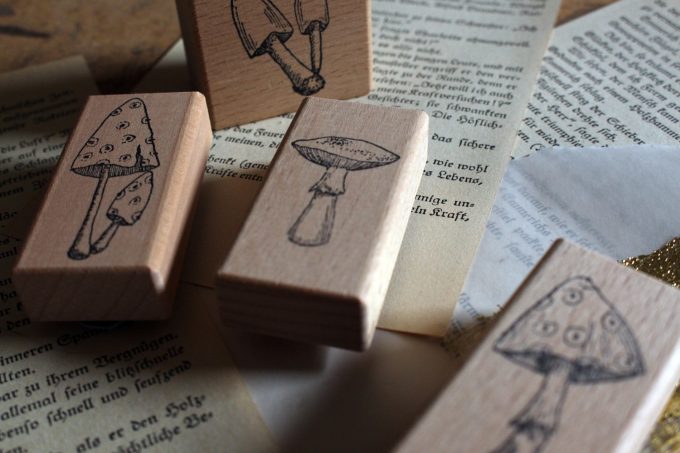
In total, there are eight new mushroom rubberstamps. All created from my own illustrations. What I’m doing with the rest of the illustrations or if I’m even doing anything with them is not decided yet. Ofen I draw simply because of drawing and not for developing a product out of my illustrations.
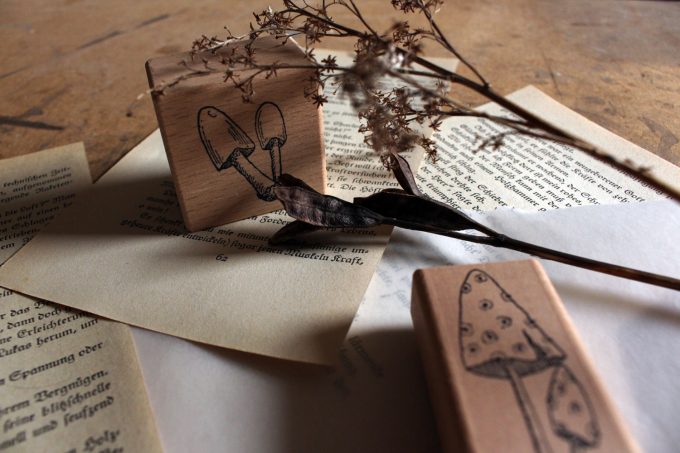
However, I can imagine making a whole mushroom stationery set with them. Containing rubberstamps, notepads, stationery paper, envelopes, wrapping paper, stickers, banderoles and more. Until I put this idea into concrete terms, I play around with the new rubberstamps for a little while.


Love

-Ema-

DIY: Journal with small stitching

Posted on in Bookbinding, DIY, Rubberstamps, Stationery, Work in progress.

bookbinding, kleinstichtige heftung

In this DIY tutorial I will show you how you can make your own journal with small stitching. It is similar to the exercise book binding.

You will need:

  • cardstock for the cover
  • paper for the journal, 15 sheets
  • scissors
  • two needles
  • a piece of cardstock
  • pen
  • ruler
  • awl
  • bone folder
  • thread
  • beeswax
  • a small weight
  • cutter
  • self-healing mat
  1. Make one section out of the 15 sheets and fold it in half by hand. Fold the cardstock in half with the help of the bone folder.
  2. The piece of cardstock should have the same height as the cover. With pen and ruler mark the positions where you want the holes to be.
  3. Put the cardstock with the marks into the middle of the section and with the awl make your holes. Repeat with the cover.
  4. The thread must be three times the height of the cover. Wax the thread with some beeswax and put a needle on every end of the thread.
  5. Put the cover around the section, lining up the holes. With the section openend up in the middle, put the small weight on one side so your journal won’t slip while you’re working. (The foldback clip is just for making it easier to photograph the tutorial.)
  6. Put one of the needles through the first hole. The thread should have an equal length on both sides.
  7. Put the second needle through the second hole.
  8. Pull all the thread from the inside of the journal through the second hole. Both needles should be on the outside now.
  9. Put the first needle through the second hole from the outside to the inside and make sure the thread is tight. Pay attention to not pierce the thread that is already laying in the whole with yur needle. Otherwise you won’t be able to tighten your thread when needed.
  10. The whole binding is made this way. One needle goes from the inside to the outside and the other through the same hole from the outside to the inside and then pull the thread tight. Repeat ’til only two holes are left.
  11. When you have two holes left you will only need the needle on the outside for the rest of the binding. If you want to you could finish the binding with the same method but I like to change it here because the knot and both ends of the thread won’t be that near to the edge of the finished journal.
  12. With the needle from the outside you have to go through the second to last hole to the inside and from there through the last hole out again.
  13. From the outside go through the second to last hole again. Now you won’t need the needles any more so you can put them away.
  14. Pull the thread tight and make a square knot.
  15. With the scissors cut the ends of the thread, leaving half of an inch to secure it won’t come undone. Here you can see why I don’t like to make the knot at the last hole: the ends of the thread would stick out of the bottom of the journal.
  16. Optional: You can cut the three open edges of your journal with cutter and a metal ruler if you want to. I also rounded the edges of my journal.
  17. Optional as well: I decorated my cover with different elements. With a sheet of this notepad, some pieces of old books, rubber stamps, an old stamp, some bakers-twine and sealing wax.

Have fun making your own journals!


Love

-Ema-