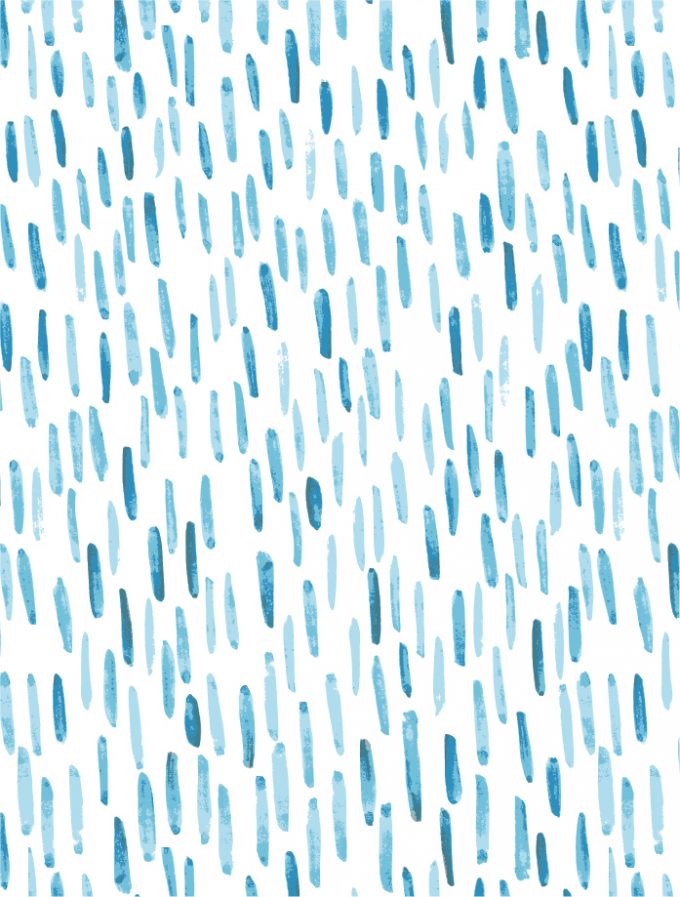
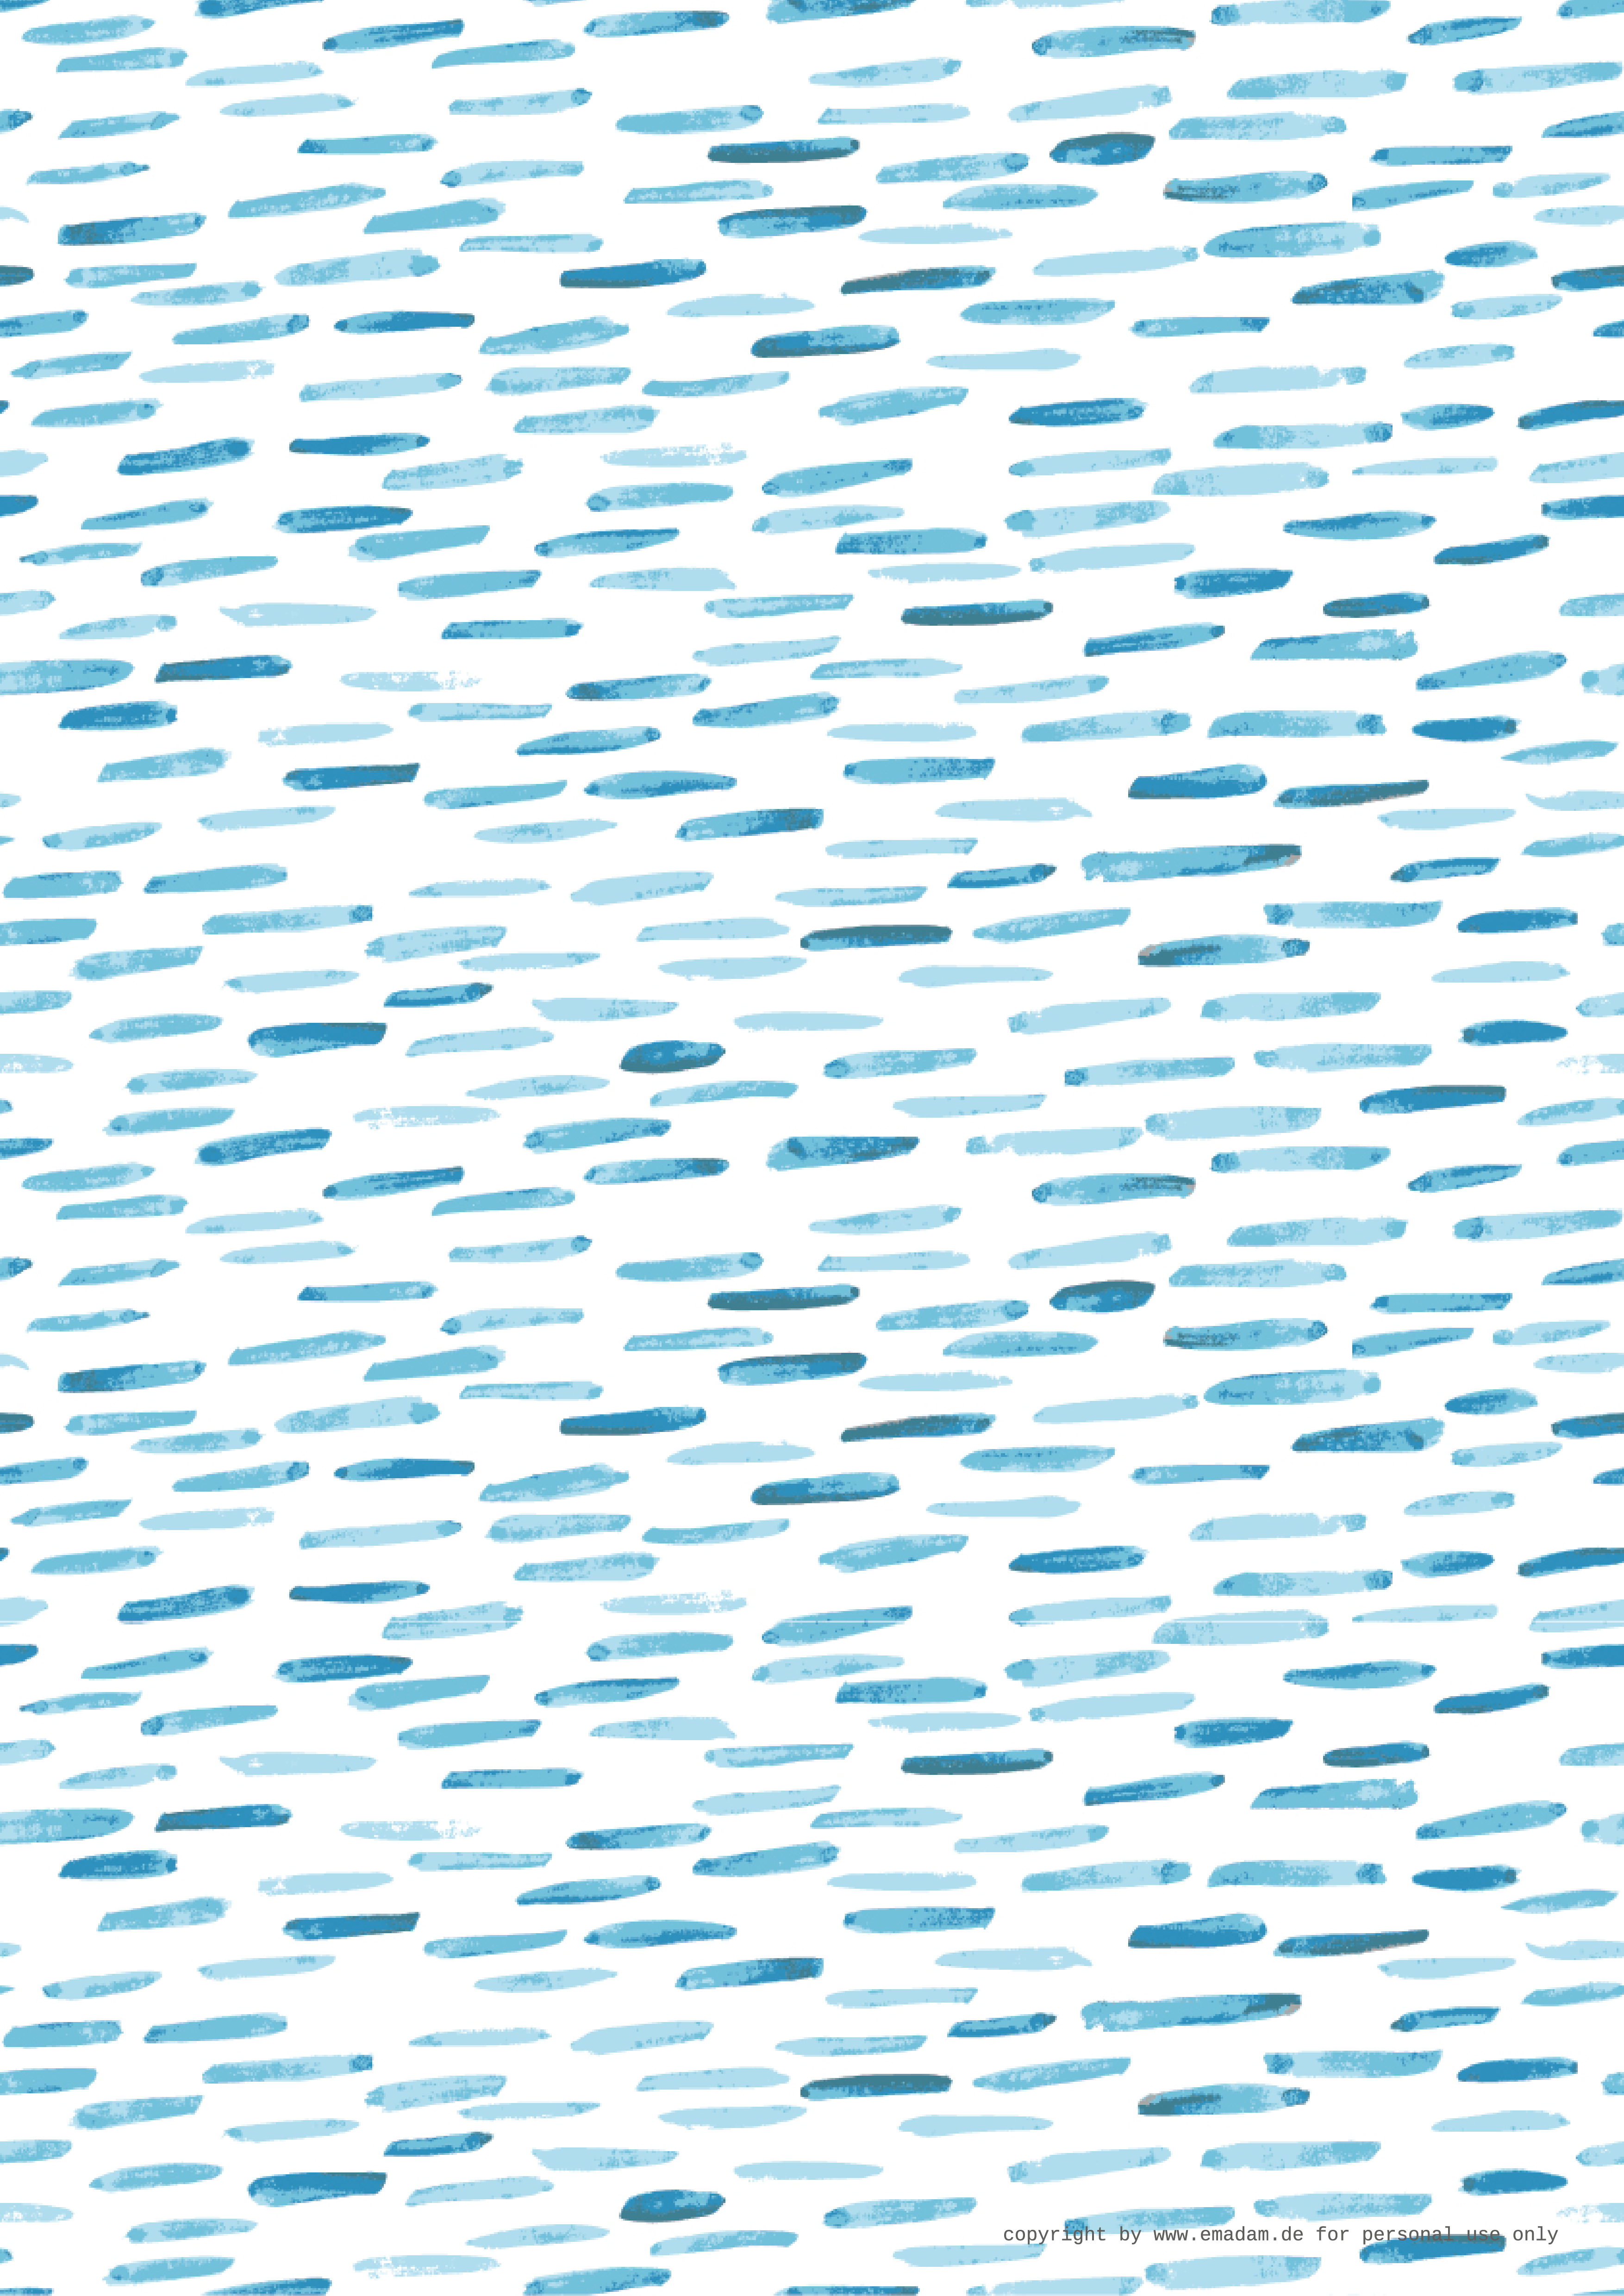
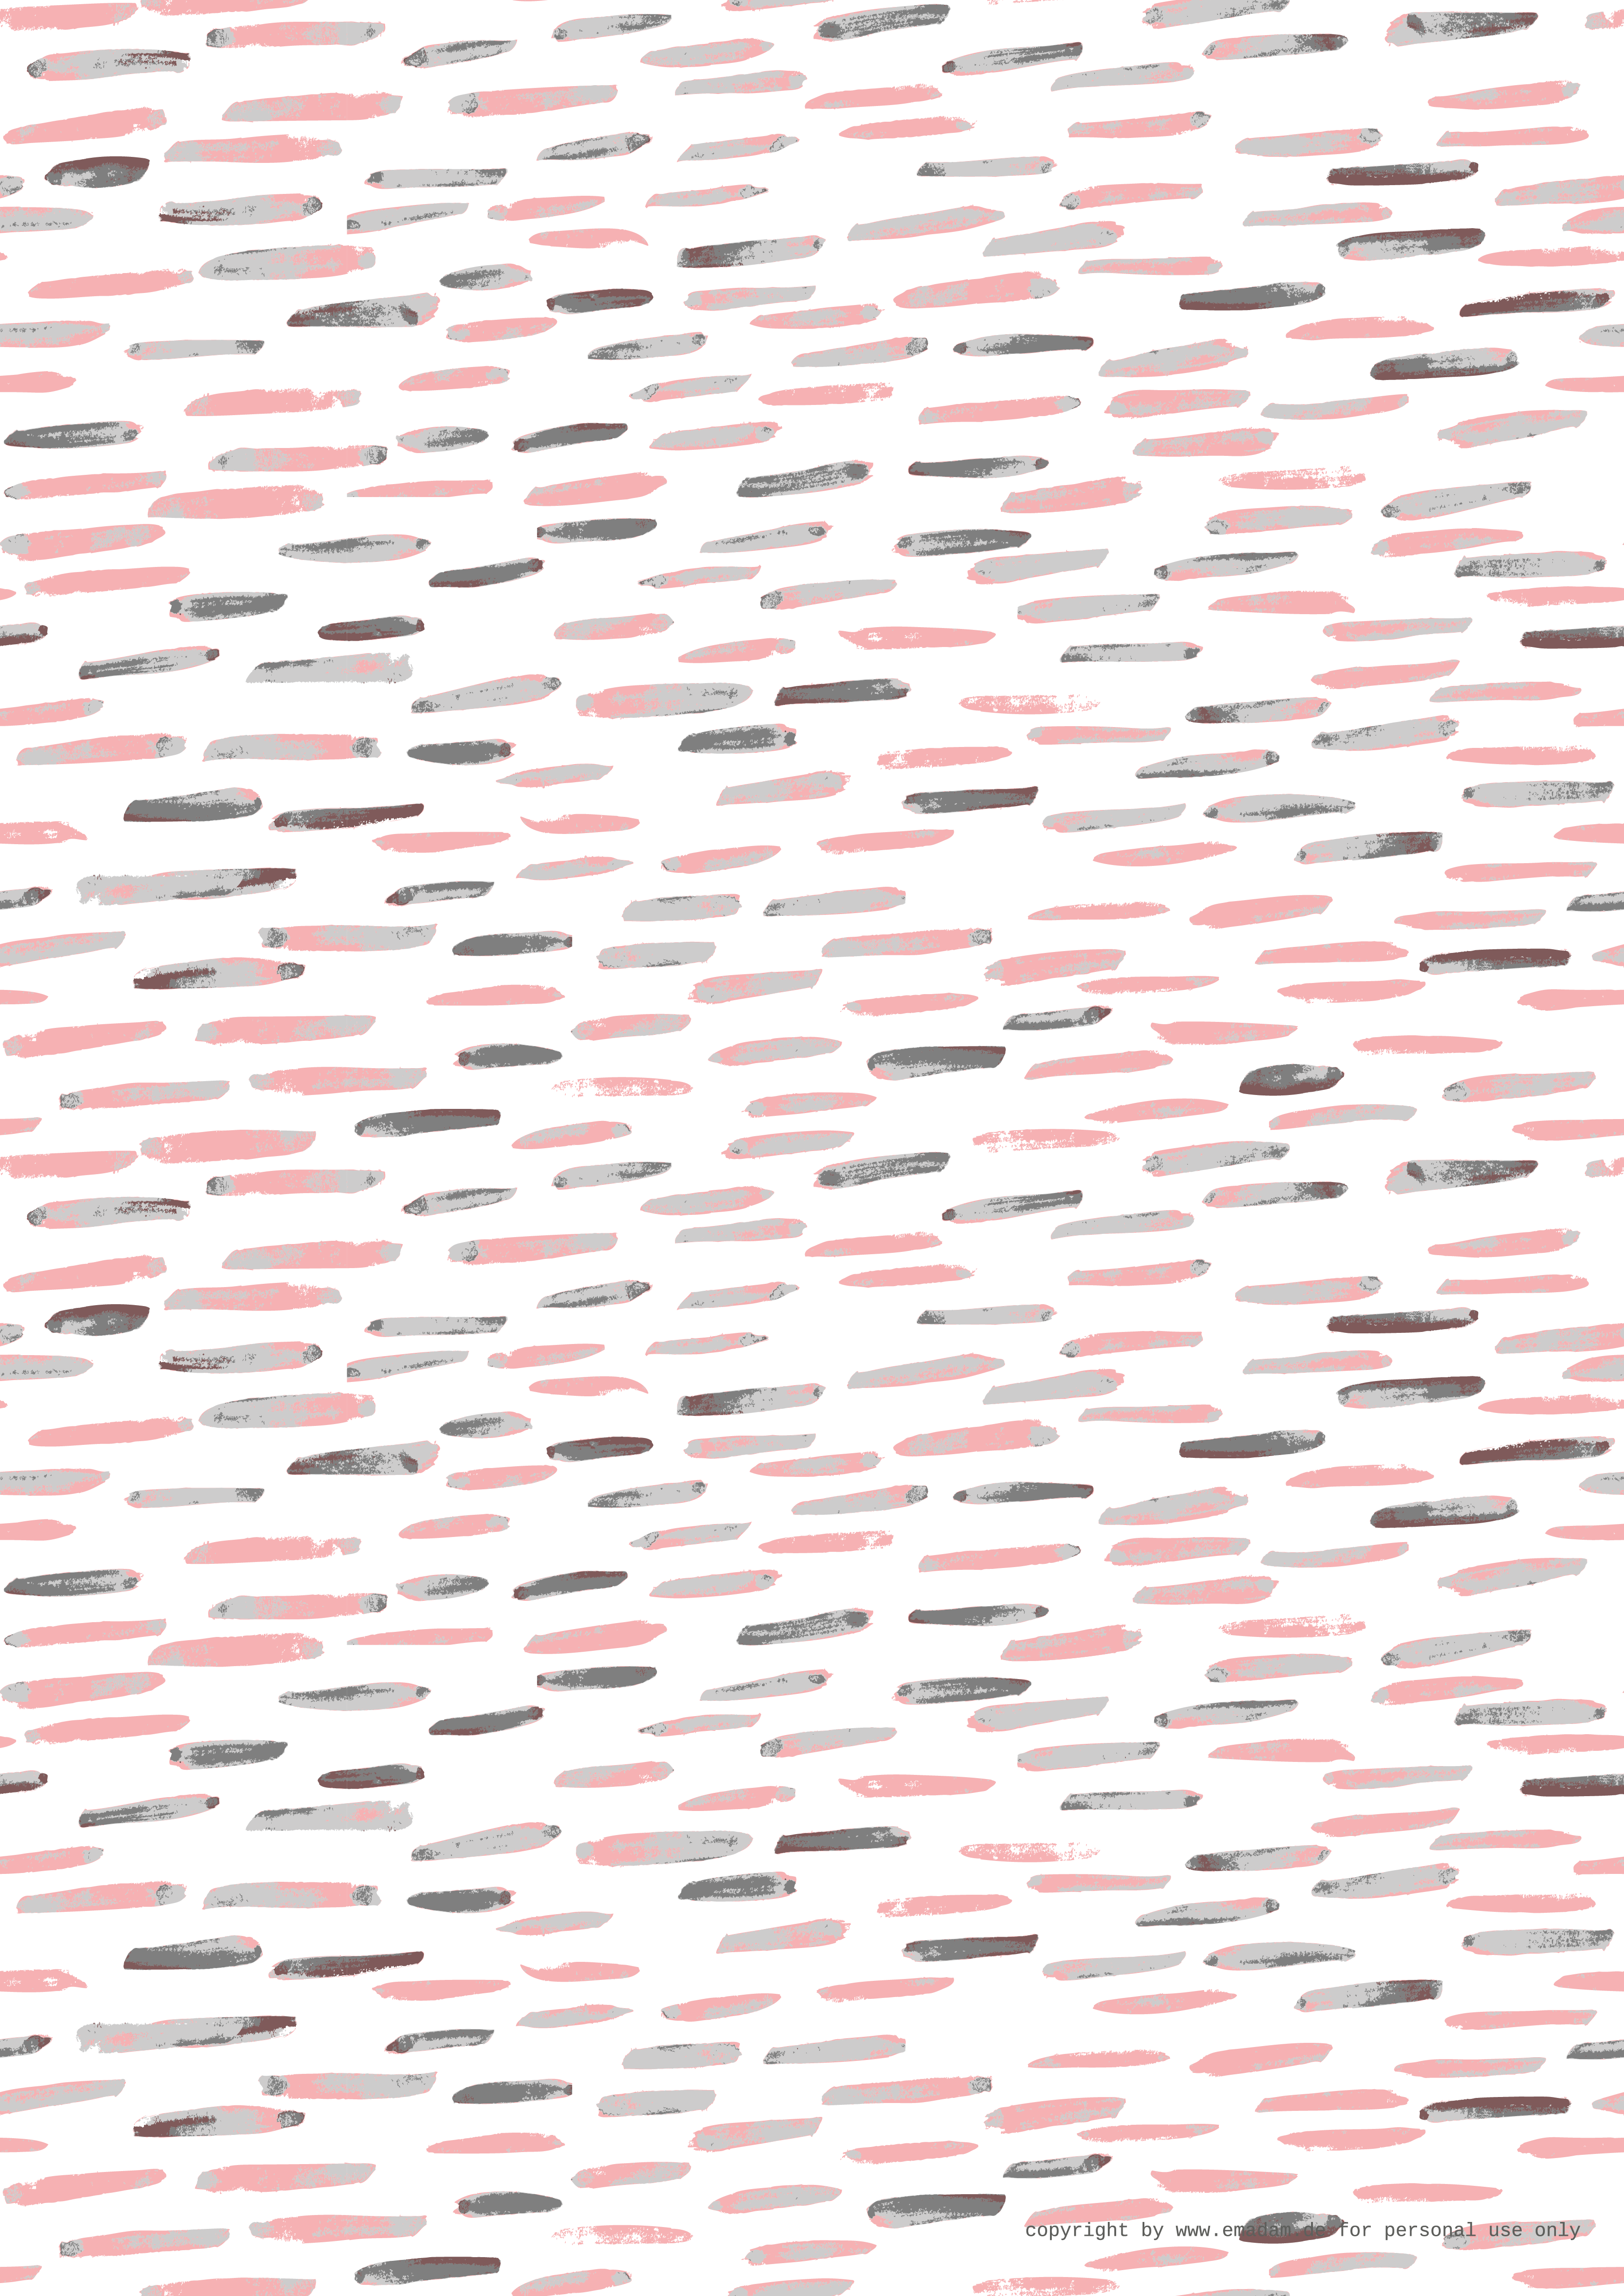
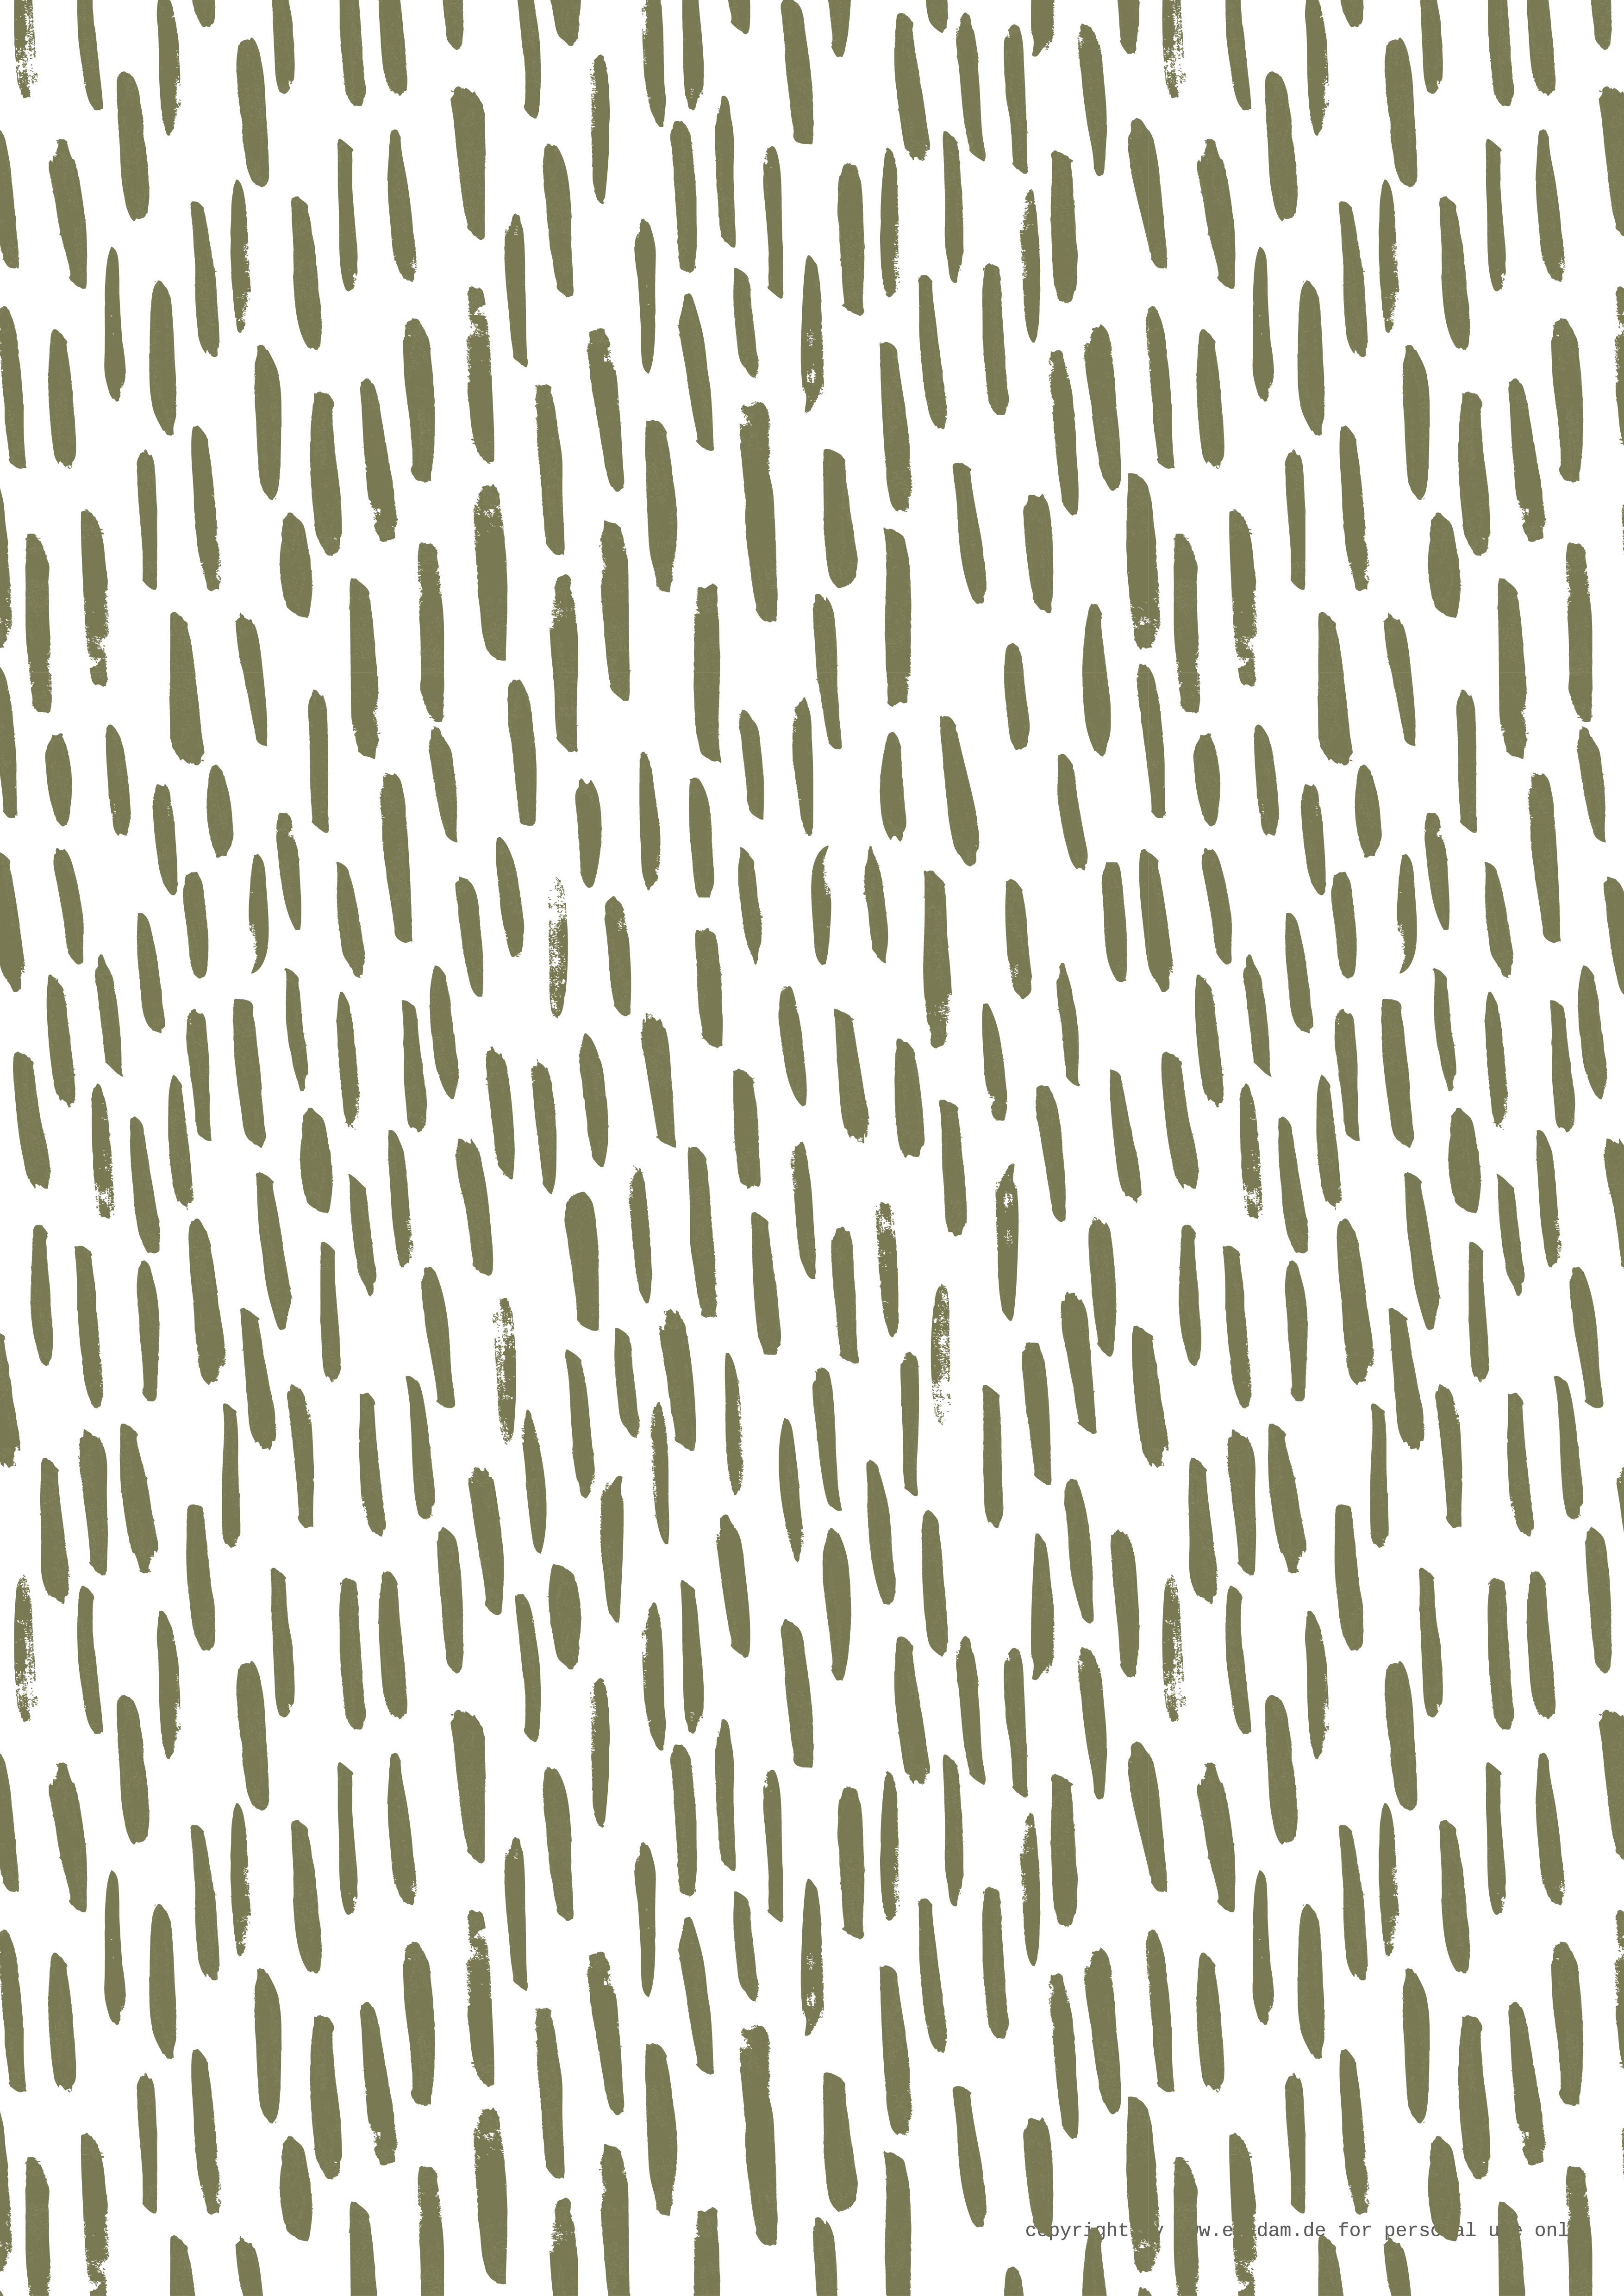
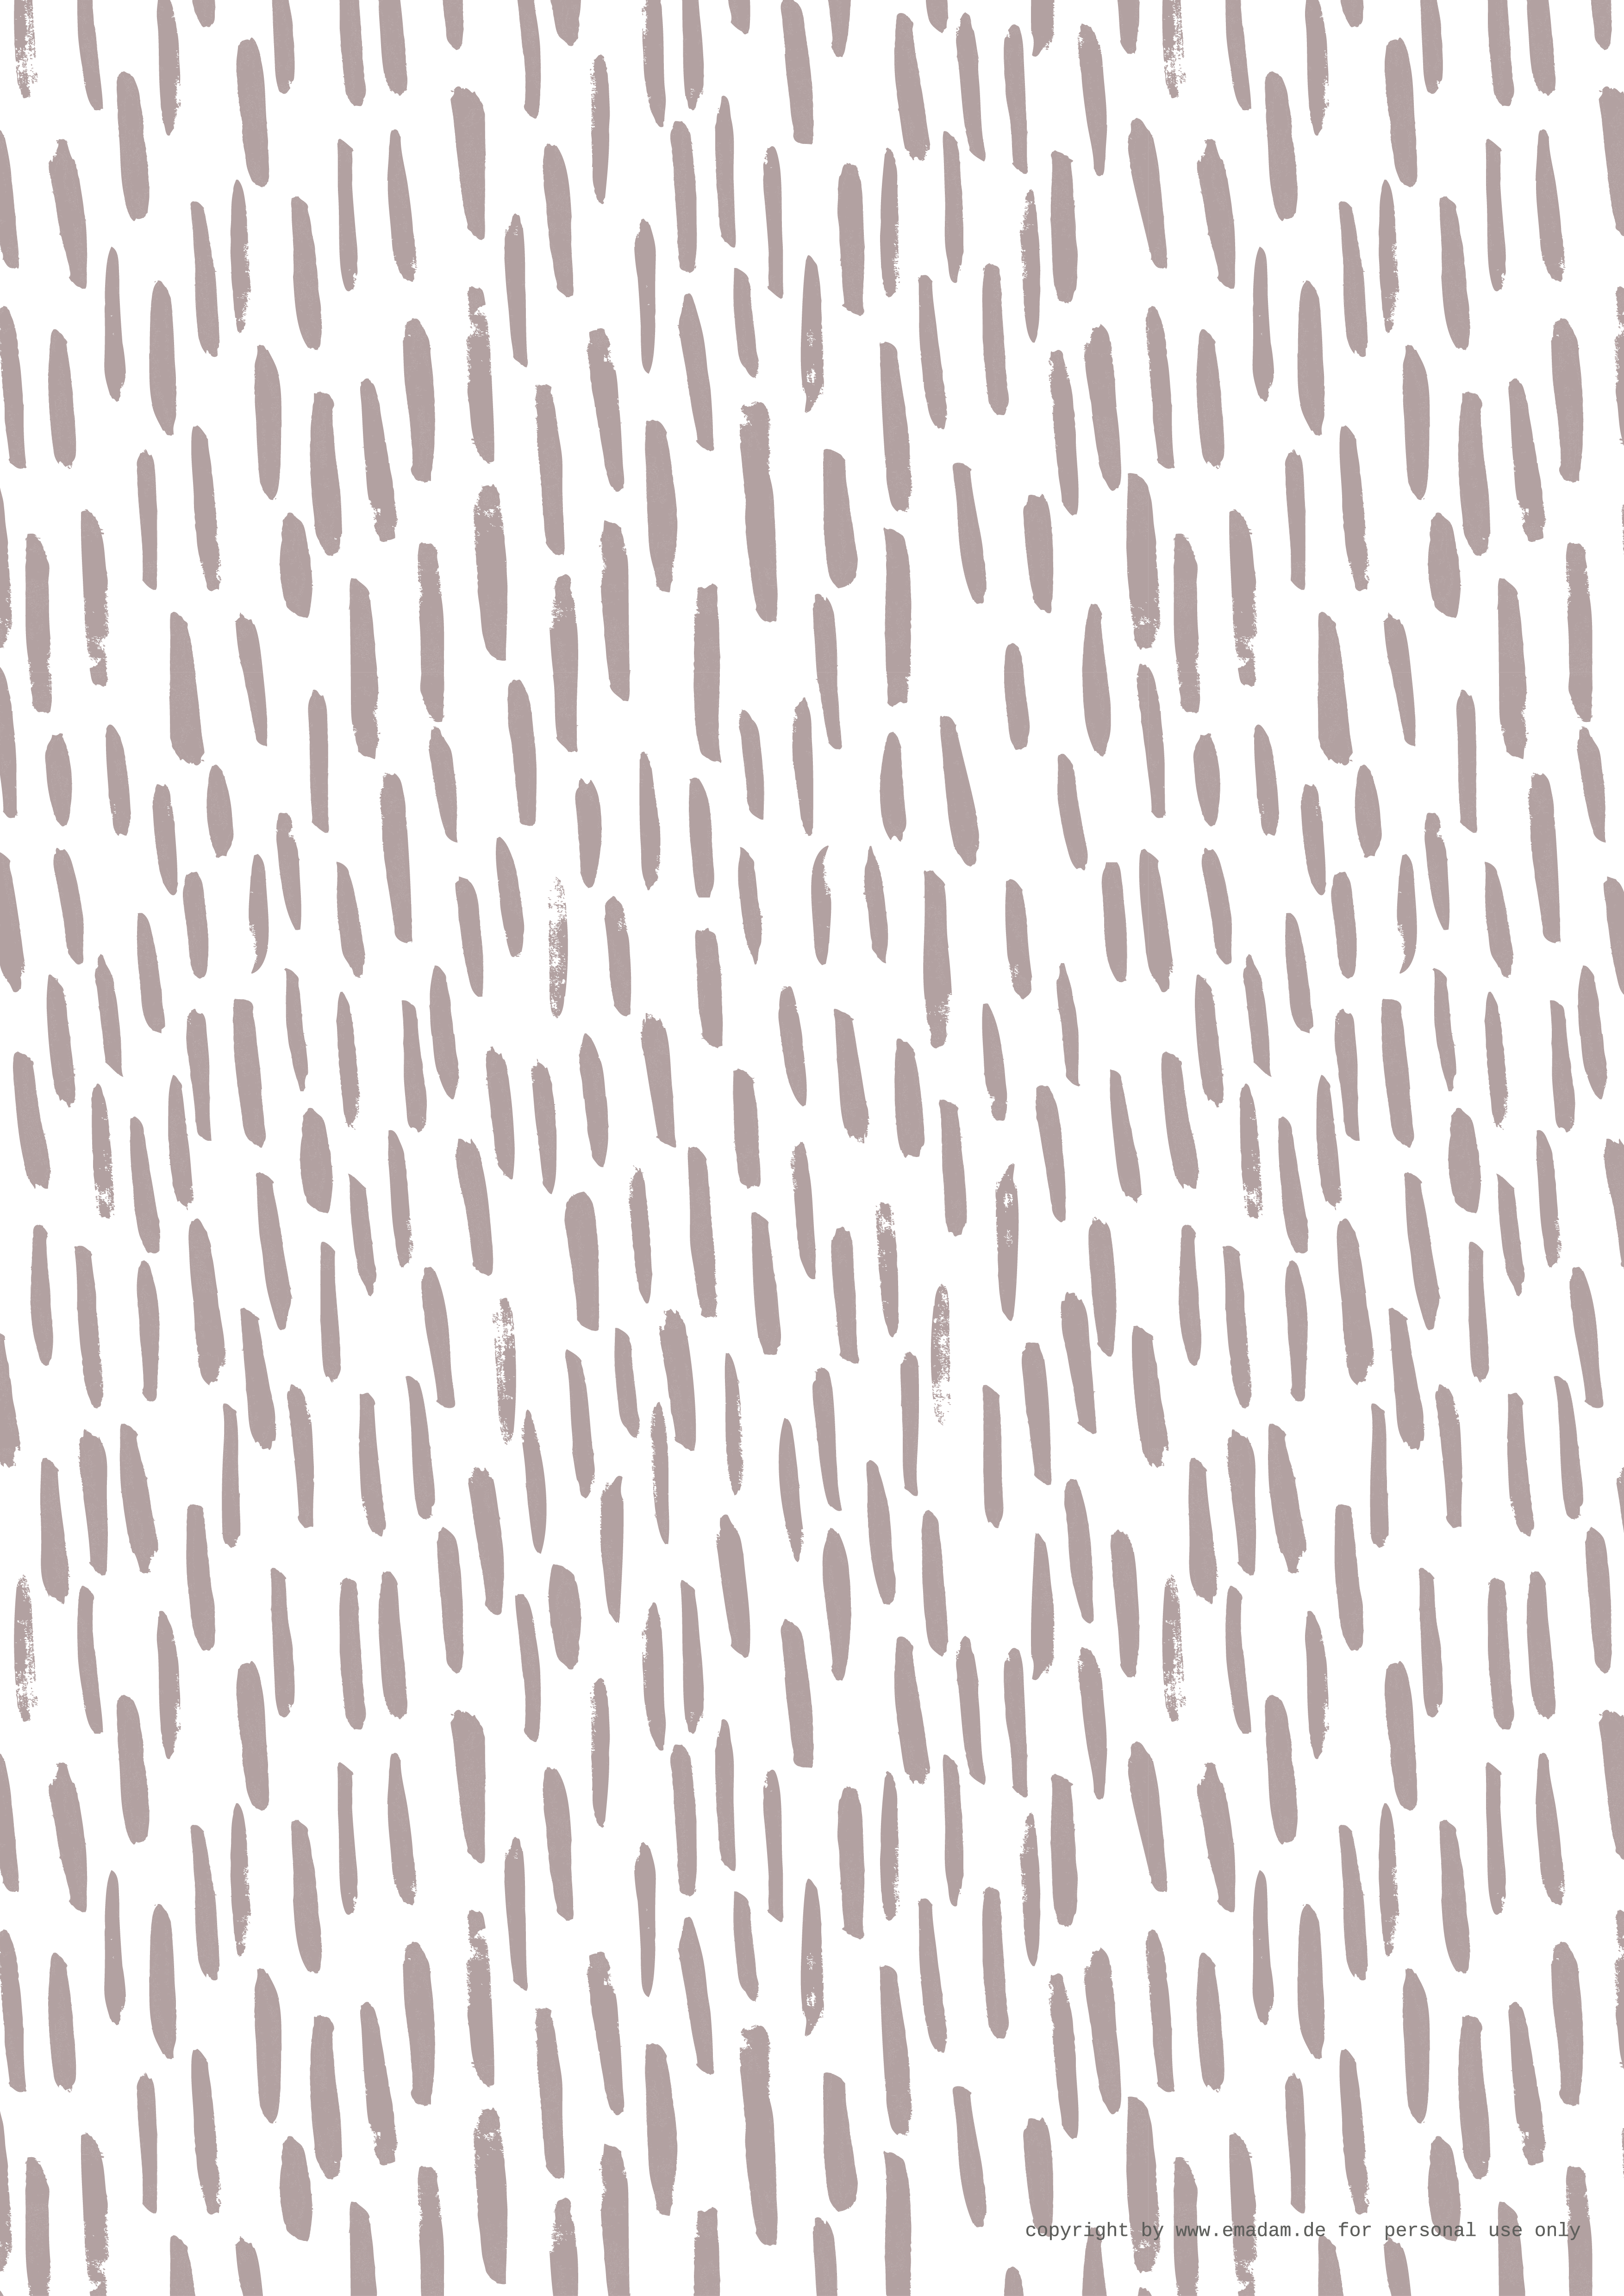
I made a seamless vectorbased pattern out of my blue brushstroke pattern from last week. With the vectorization I reduced the colors to six colors only. So there are six shades of blue in the pattern. On the one hand I liked the effect the reduction has but on the other hand I had to reduce the colors because with to many colors the number of anchorpoints can really go out of control if you don’t do that. You don’t always have to use just six colors. It really depends on your pattern and of course the performance of your computer.
I made a new arrangment with the strokes. This a little bit uncontrolled than it was in the original. And because there are never enough free patterns out there I made four versions for you to download. The blue and rose pattern are landscape format and the green and grey are portrait format. They are all made for a A3 print. Bind some books with them, wrap gifts or make other cool stuff with it!
Of course you can print the pattern in any size you want. Just choose your favorite format in the printer dialogue. If you resize the pattern with your paper format the printer will make the pattern smaller so it fits on your format. If you want the pattern to have the original size, you have to check or uncheck the box for that option in your printer dialogue.
Please resepct that every pattern is just for personal use only. Have fun and you’re welcome to share your creations by making a comment, write a message on facebook or link me at instagram.
Love,
-Ema-


 Another army of watercolor-strokes. These are smaller but they would be perfect for a watercolor seamless pattern. I will do that alter this week.
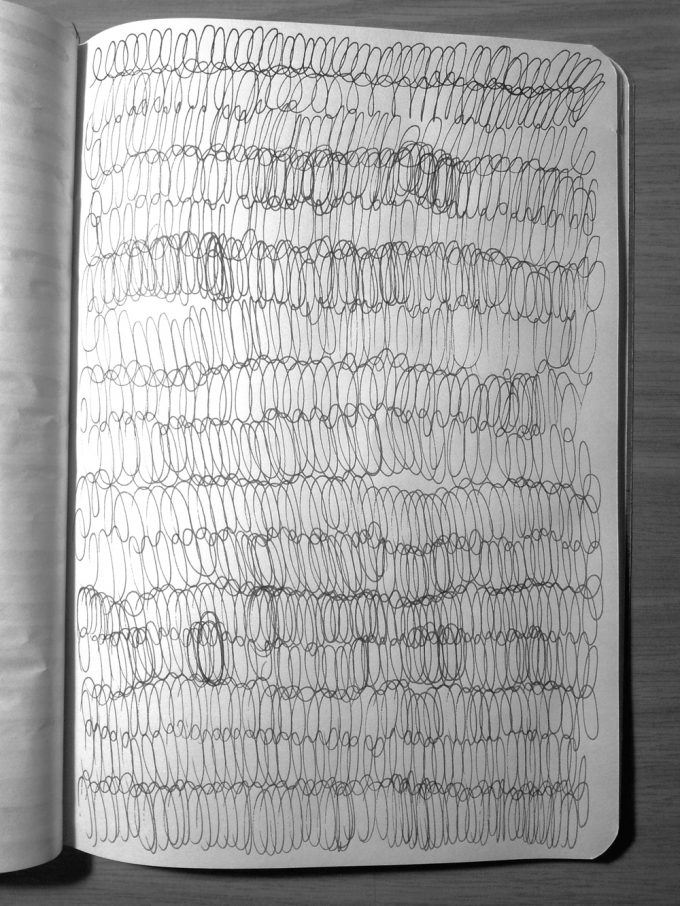 Fountain pen curls made it also into my sketchbook. The whole page is just one stroke. Beginning at the top left and curling it’s way from side to side to the bottom of the page. It just got disconnected when the ink wasn’t flowing fast enough.
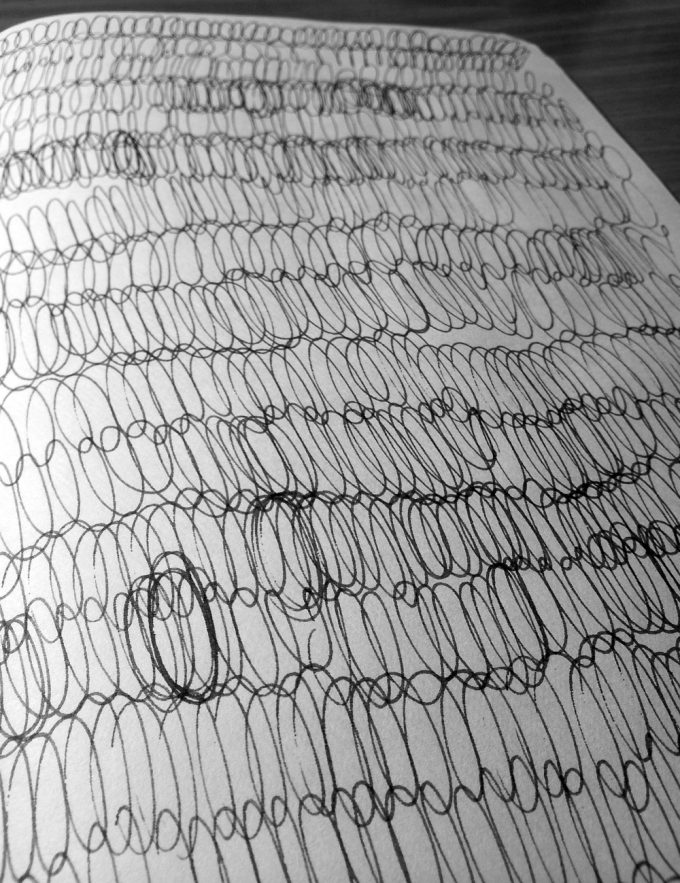 When you are making marks like these it’s easy to get lost in the motion of your arm and hand and just sit there and watch it happen.
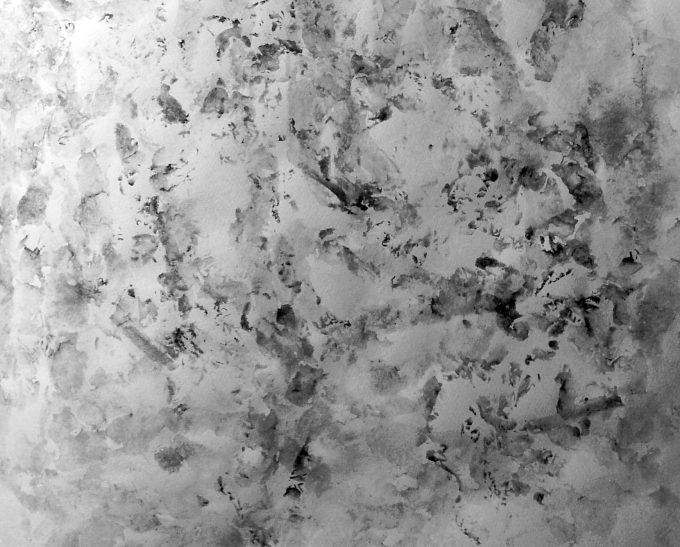 My last experiment for making marks was a little wet paperball I soaked with watercolor and rolled it over my sketchbook page. Maybe this one could be a interesting seamless pattern, too.
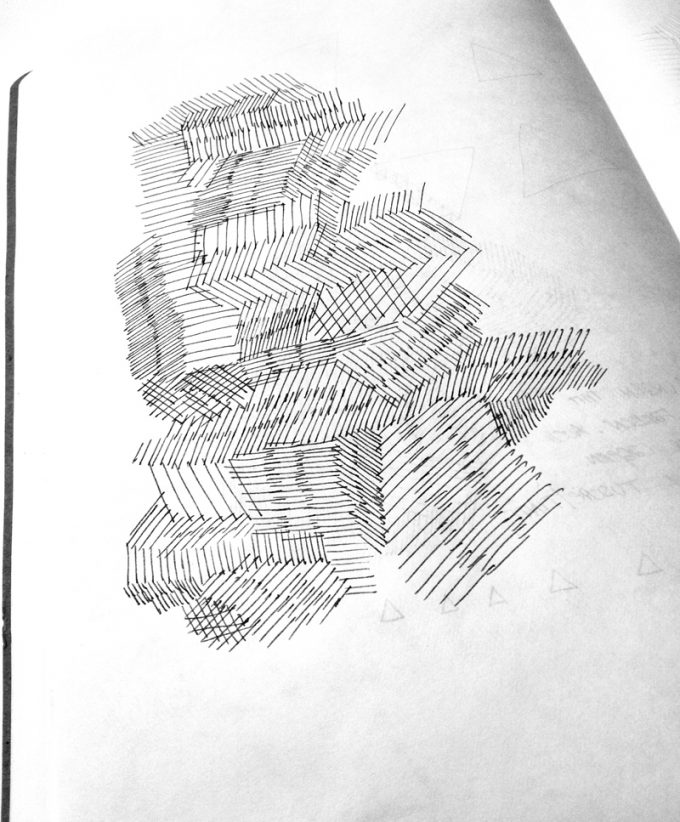
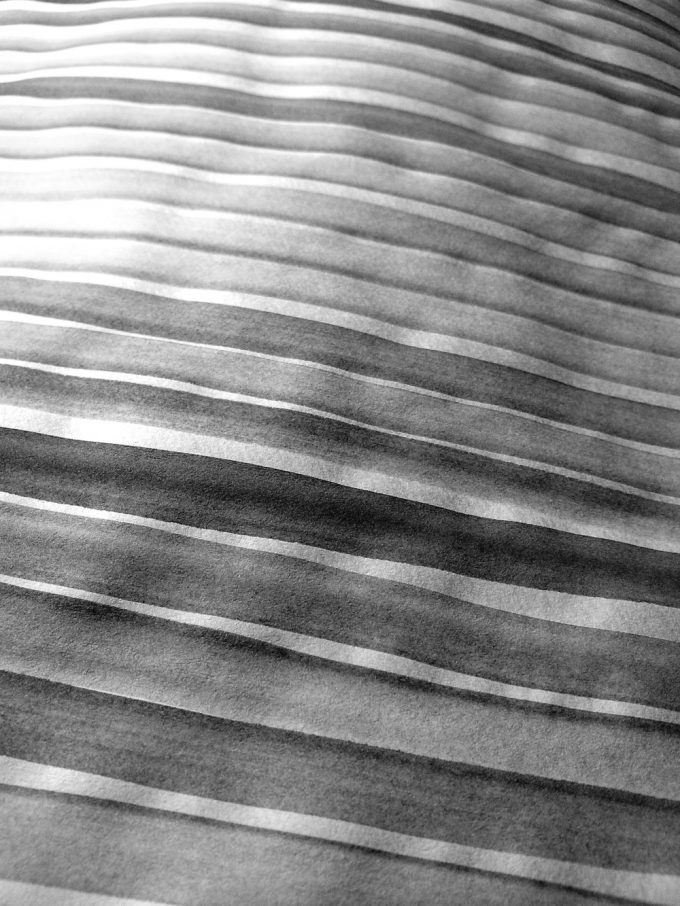
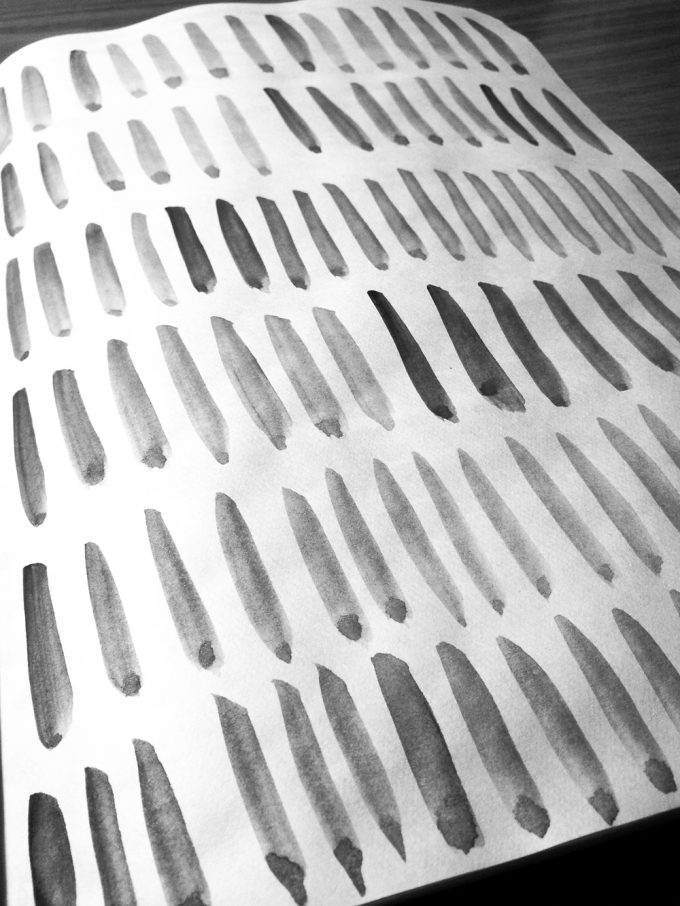
 The strokes get wider. Due to ink and paintbrush. While the slim strokes of the rapidograph seem to be a unity, the brush-strokes look like single ones. Every one on his own.
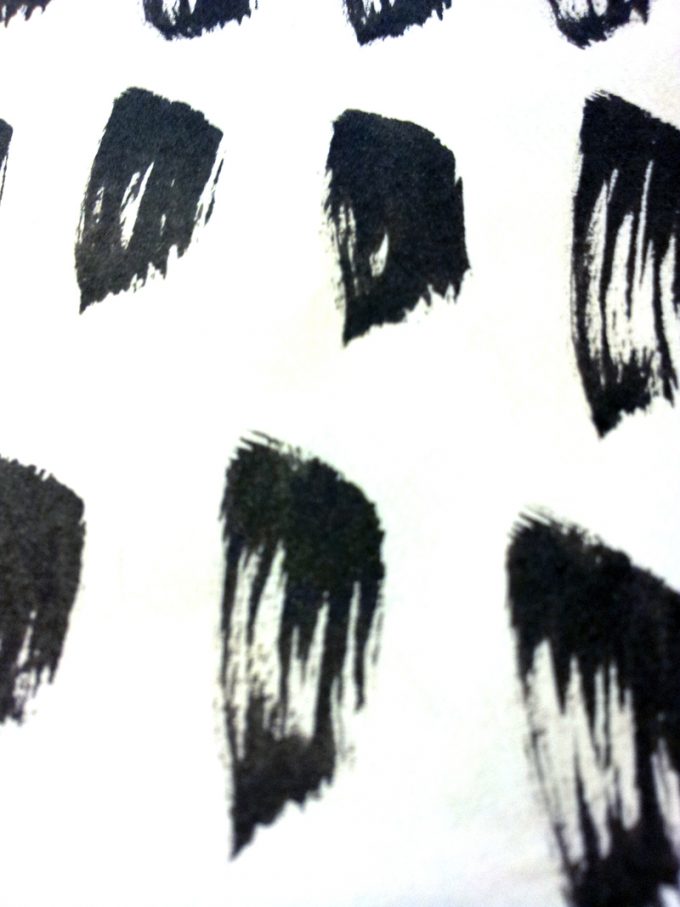 And the decreasing amount of ink brings in some variety with gaps, stripes and marks in every mark.
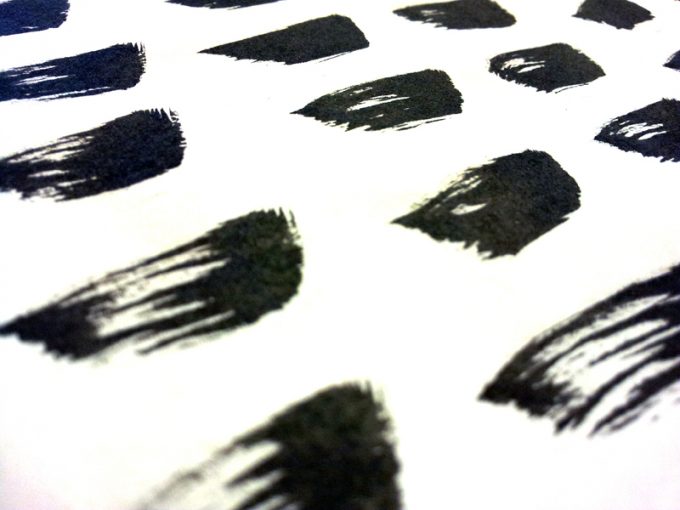
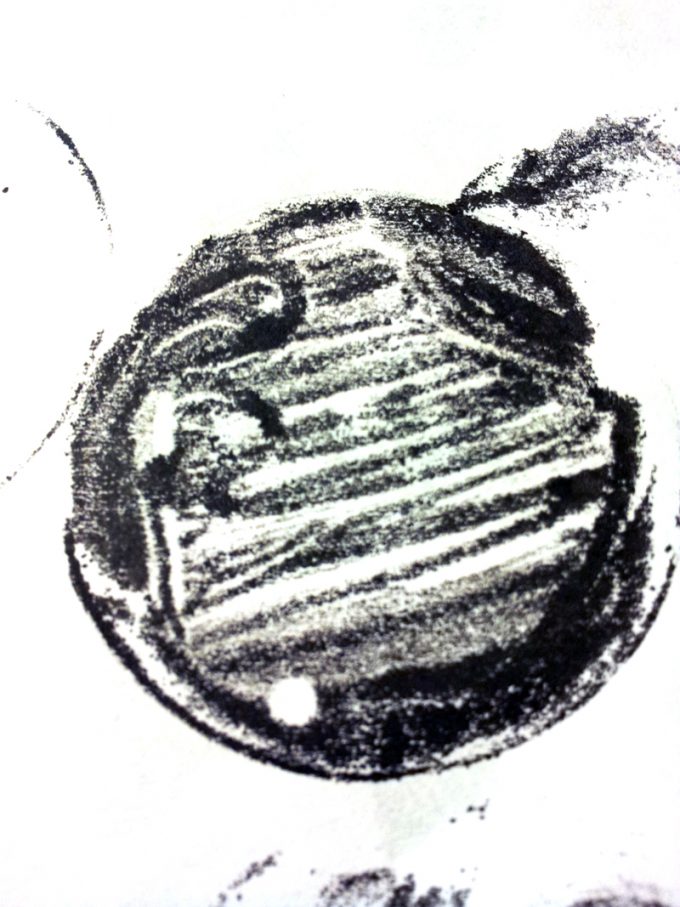 Another experiment made with a plastic lid and some ink. The way I put on the ink on the lid was directly printed to the paper and is clearly visible.
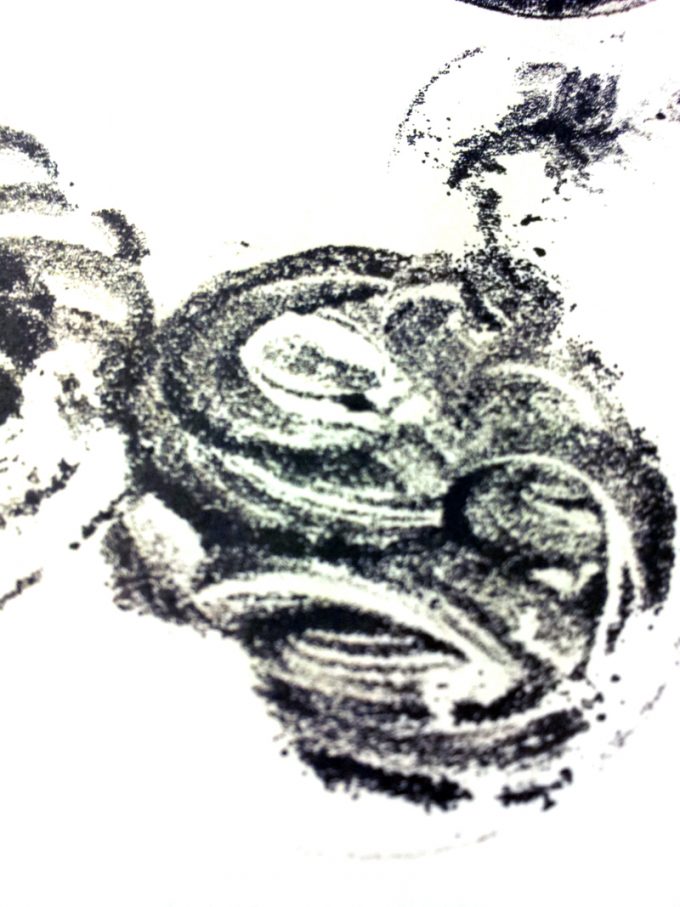 The ink was drying out really fast so I couldn’t print the whole lid in every try.
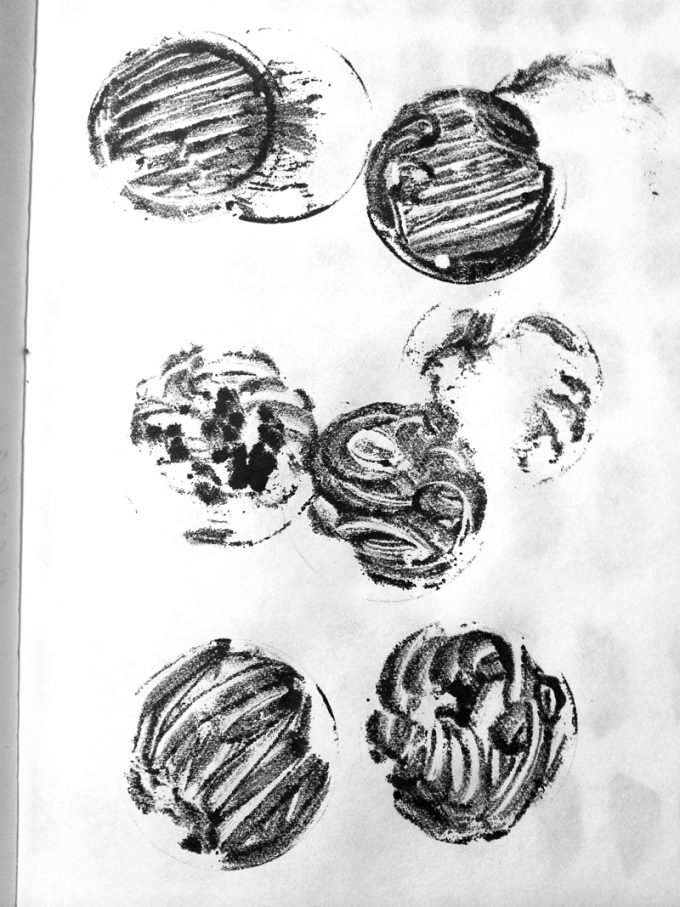 A small collection of plastic lid prints.
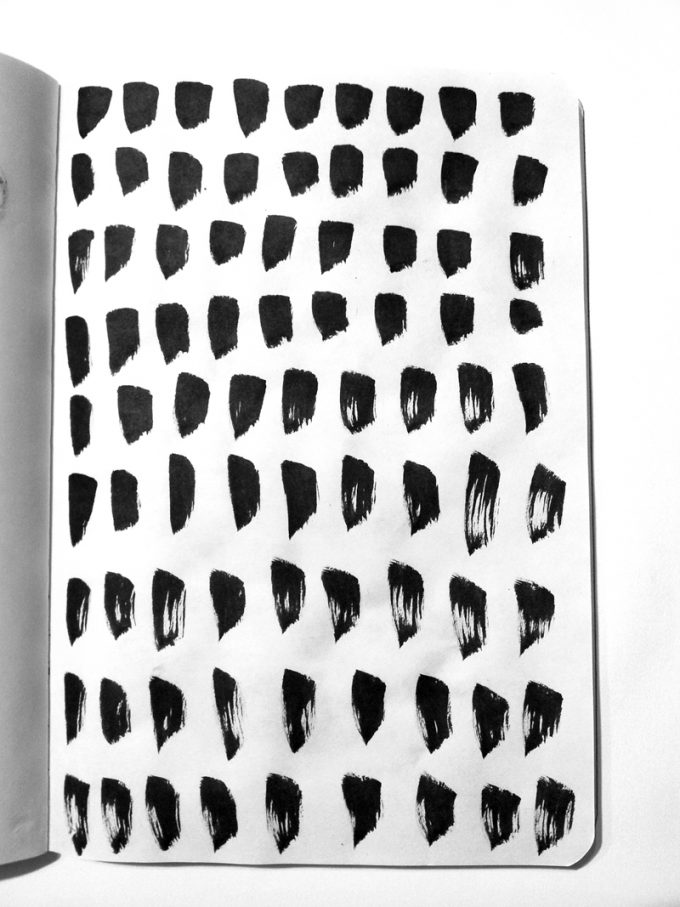
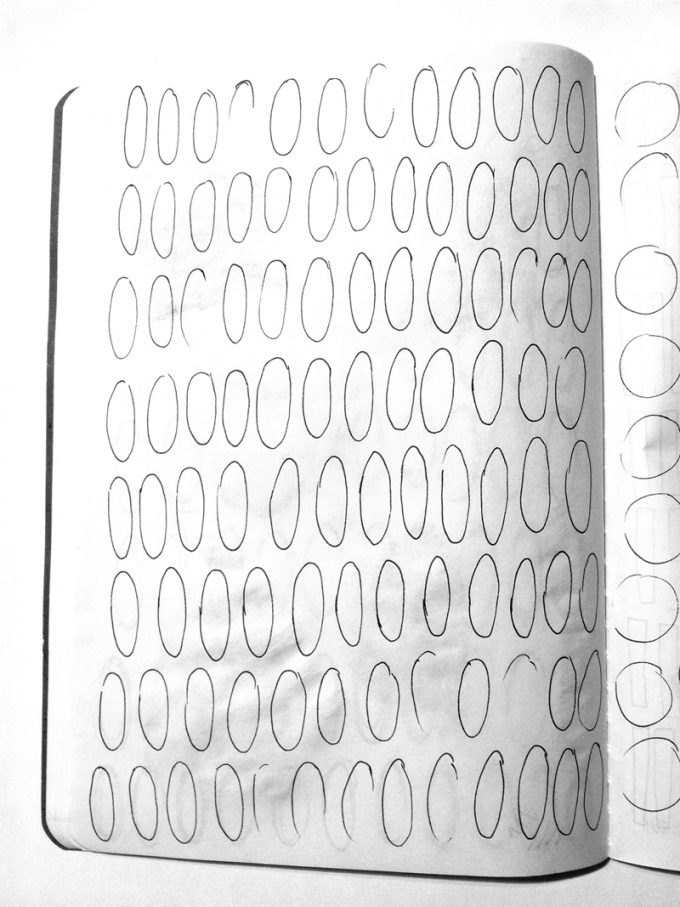 Some pages of my sketchbook were filled with simple marks.
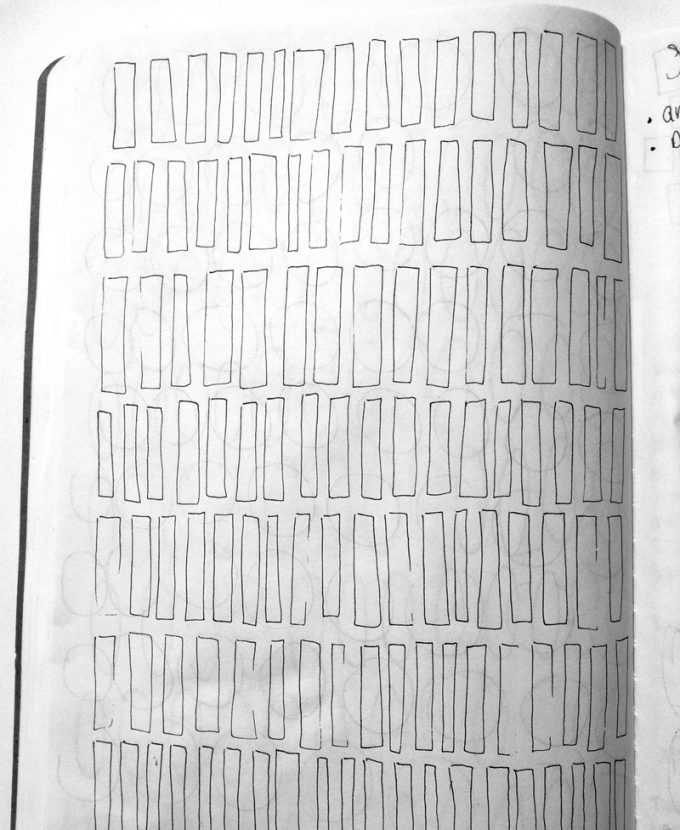
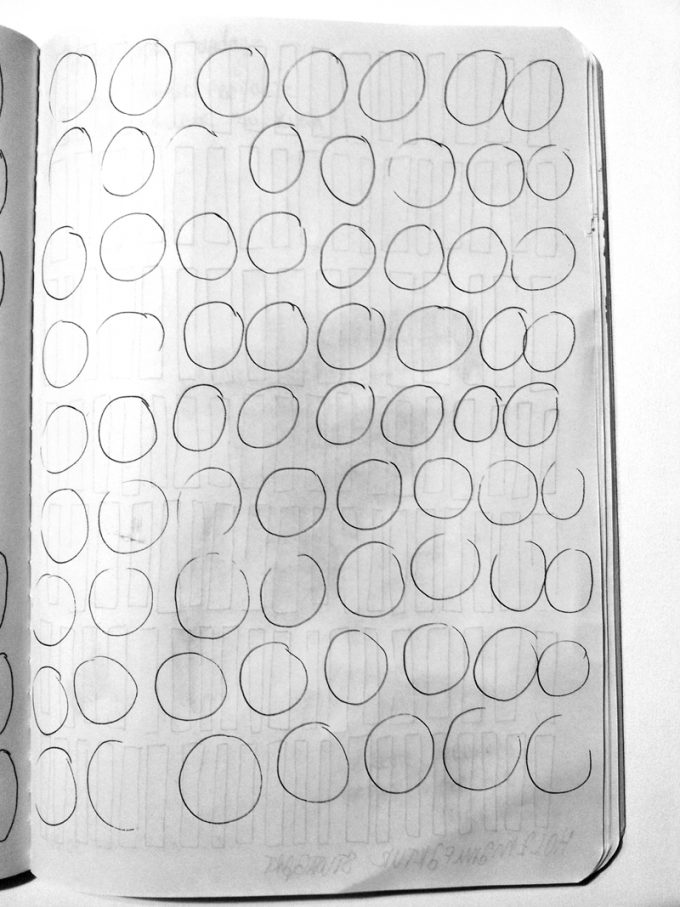
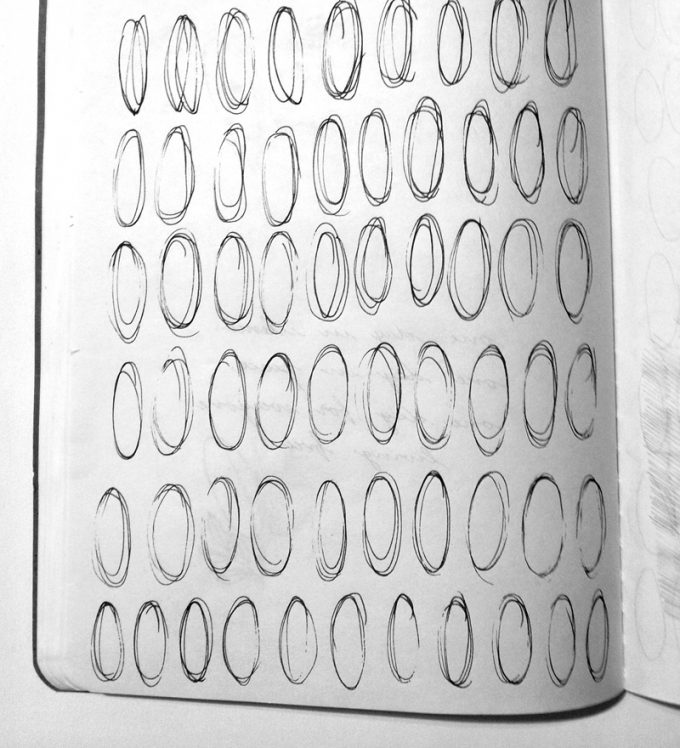 Somehow the oval was my favorite. That’s the reason you can find it on multiple pages in the sketchbook. In different styles. There are patterns where the oval is made in just one drive and patterns with ovals where I layed multiple ovals over the first.
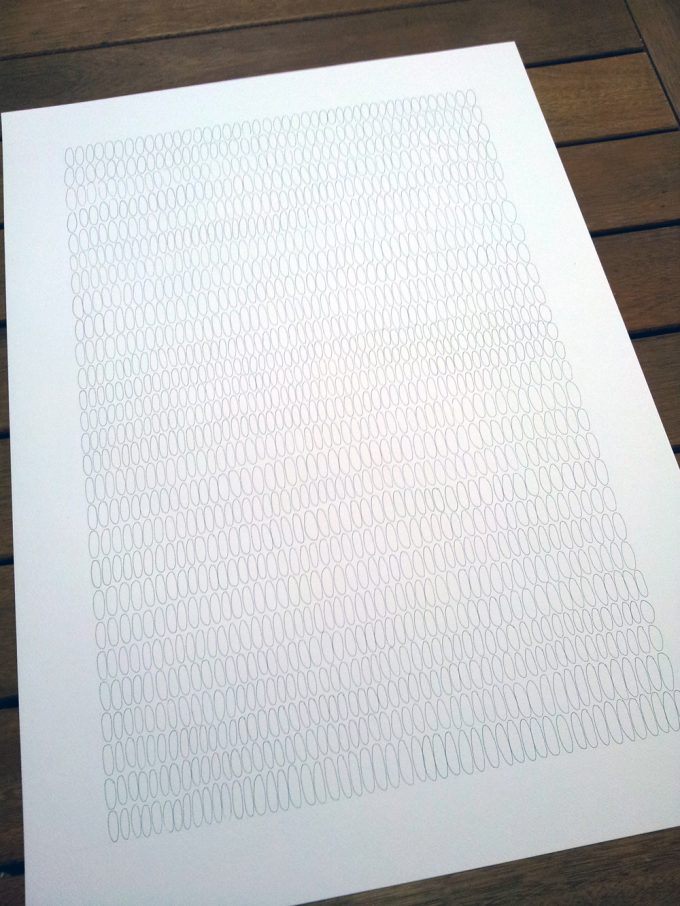
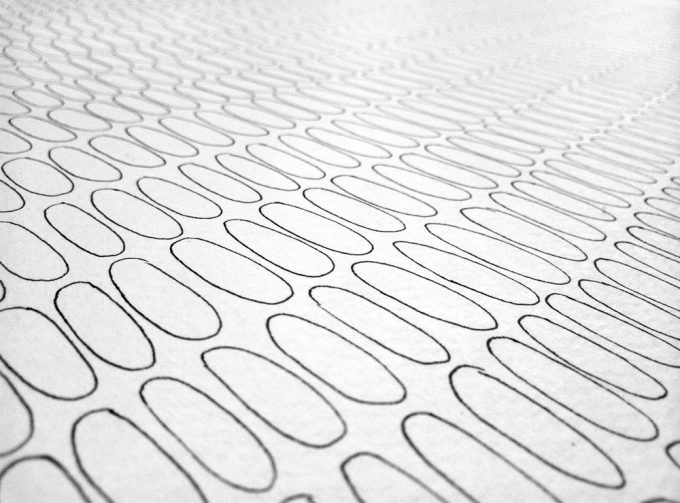 Every one looking a little bit different than the next one.
 Not a single one is perfect.